If you’ve ever worked with PCB design in KiCad, you know how invaluable custom libraries are. And if you’ve wrestled with the process of adding mouse bites, this latest GitHub repository from me might just save you some headaches.

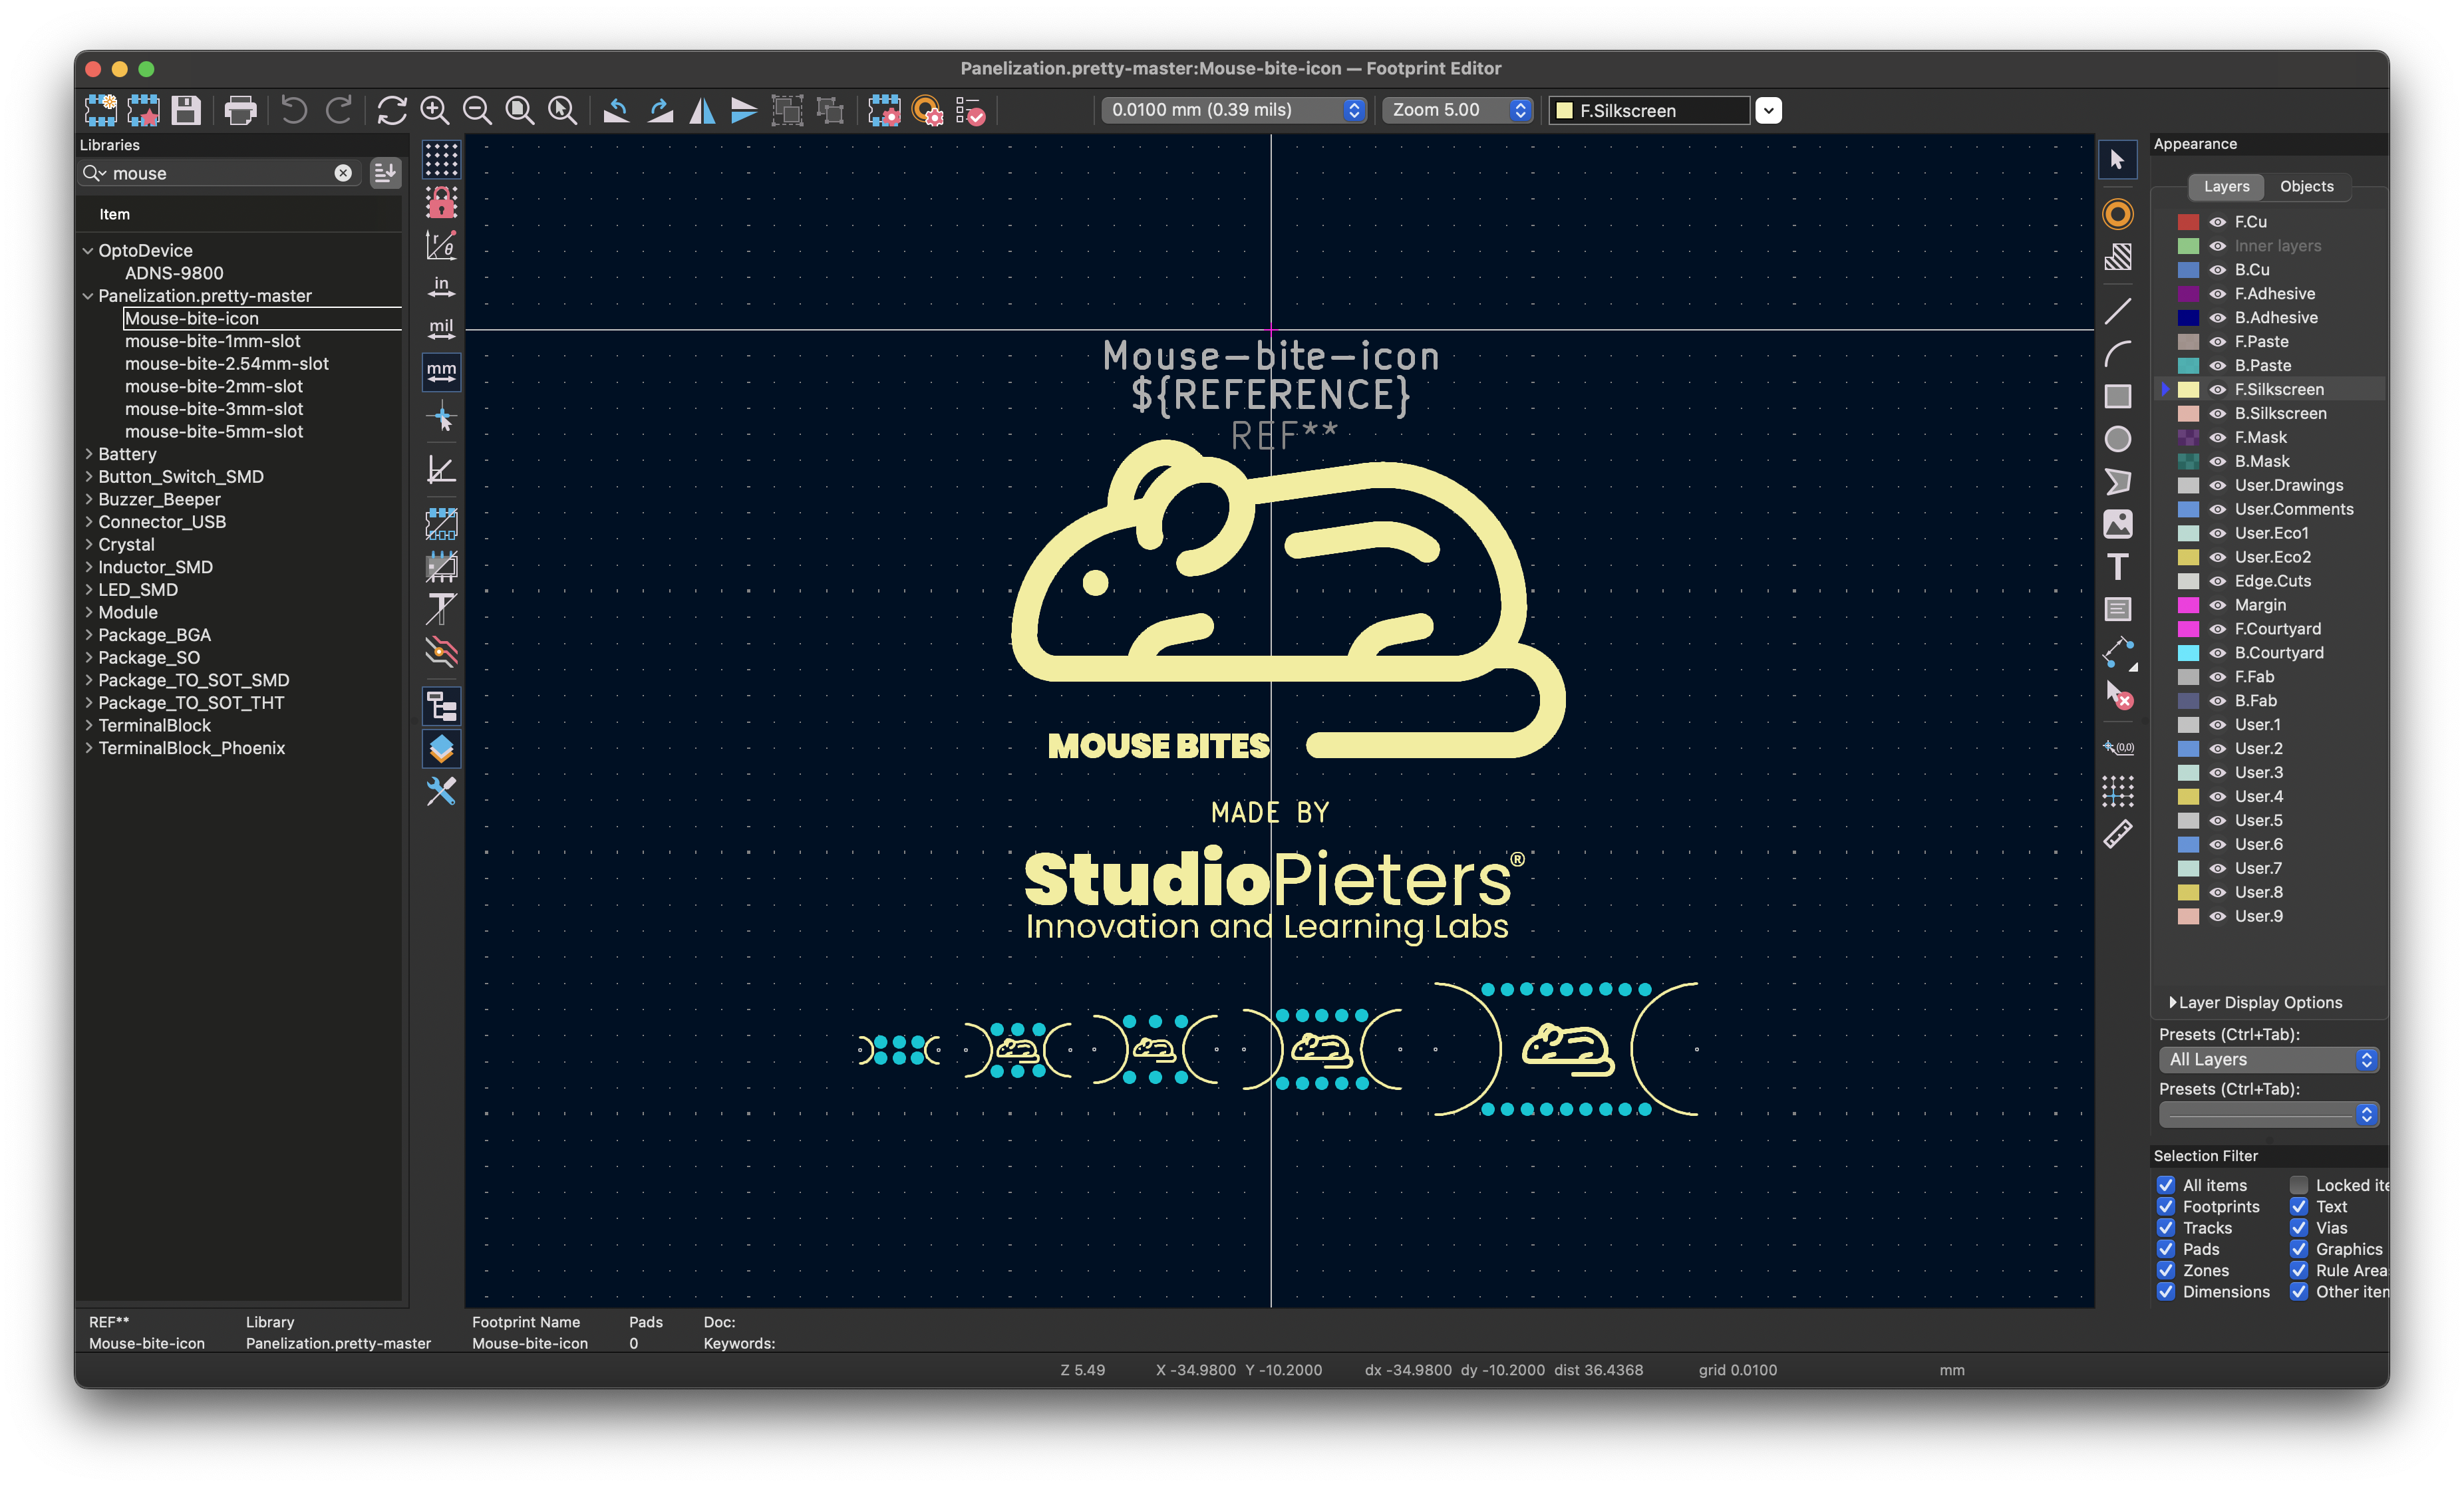
The aptly named “mouse-bite.pretty“ repository is a KiCad footprint library tailored specifically for mouse bites. If you’re not familiar, “mouse bites” are perforations that help in breaking apart individual PCBs from a panel, commonly used in manufacturing for prototypes and modular builds. Typically, mouse bites require setting up a series of tiny holes in precise arrangements, which can be tedious when done manually. This repository steps in to streamline that process, bringing pre-made, standardized mouse-bite footprints that are just a few clicks away from being added to your KiCad design.
What’s Inside?
The library includes a variety of footprints with common hole arrangements, allowing you to select the size and density that best fits your design requirements. Options range from simple hole arrays to more complex patterns, making it versatile for different applications and board sizes.
Why Use a Mouse-Bite Library?
For anyone who frequently does prototyping or panelized PCBs, using a dedicated library like this can save a significant amount of time. With mouse bites set up as a standard component, you can focus on the rest of your PCB design without repeatedly creating and tweaking hole patterns. Additionally, the library ensures consistency across projects, leading to more predictable break points and cleaner separations.
How to Get Started
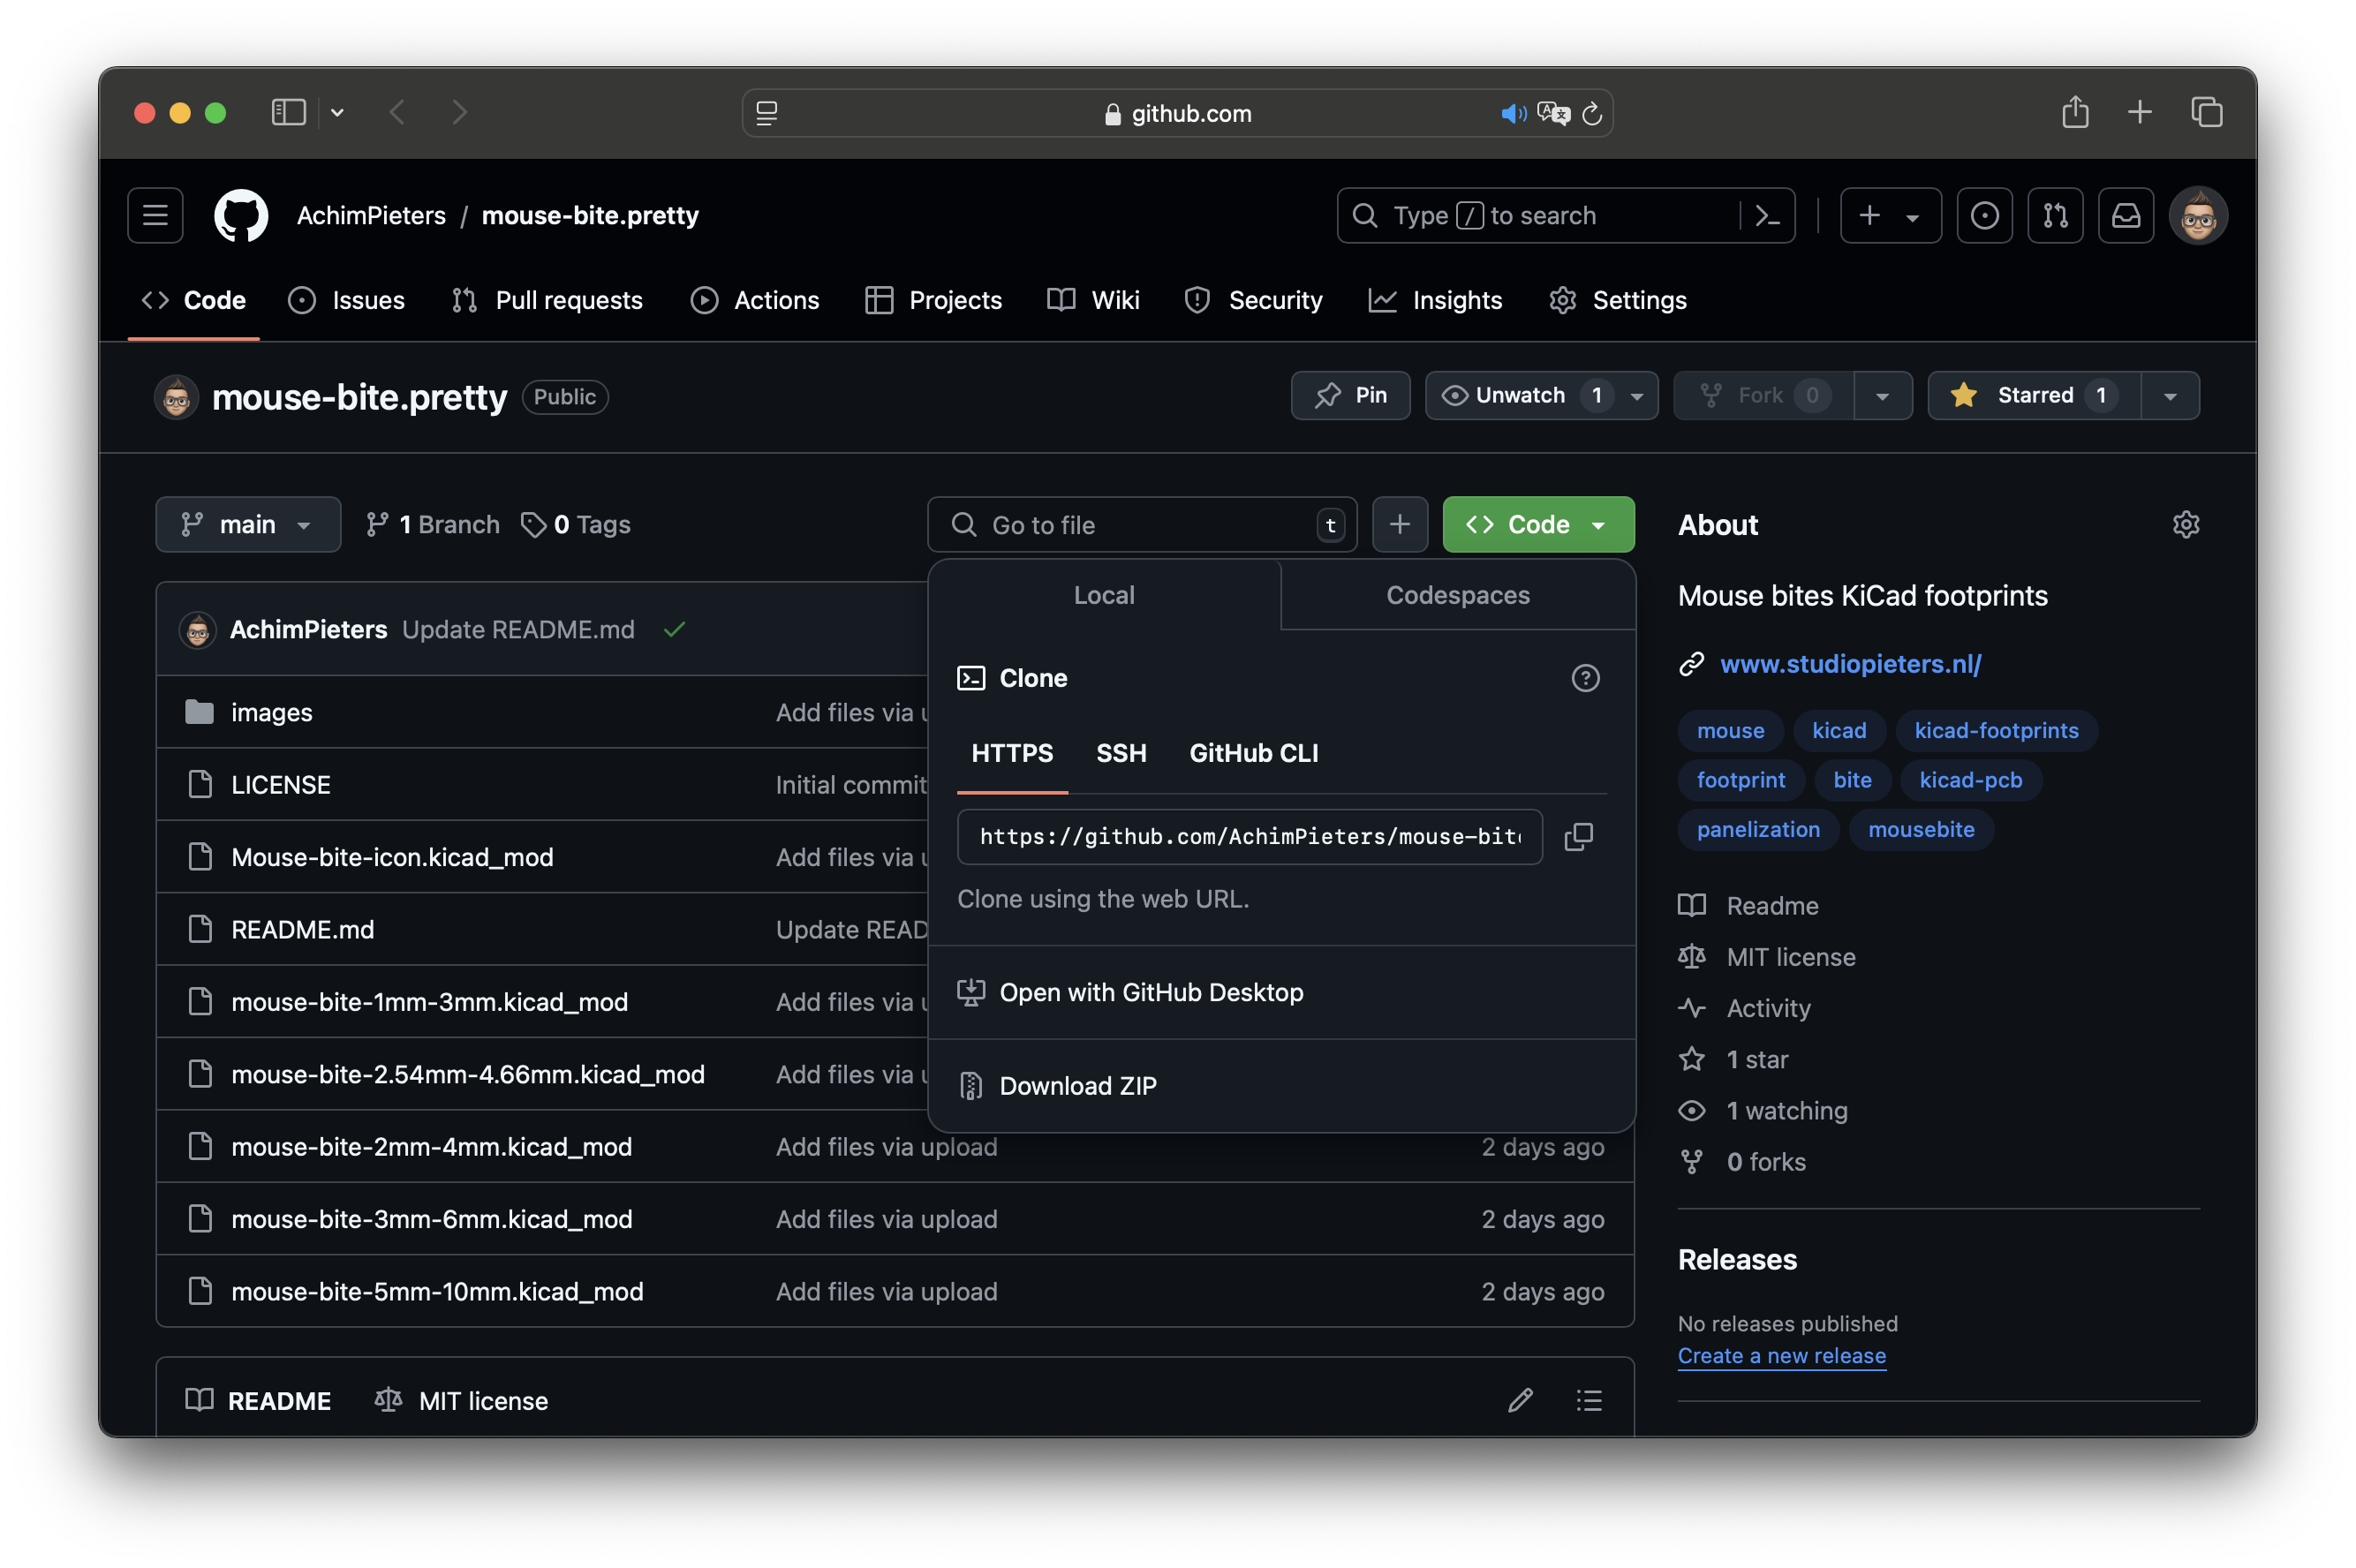
You can add the “mouse-bite.pretty” library to KiCad by cloning the repository from GitHub or downloading it directly. Once added, the library functions like any other footprint, ready to be placed onto your PCB layout.

In essence, this library simplifies the often repetitive and error-prone process of setting up mouse bites in KiCad. It’s a handy addition for anyone looking to shave some time off their PCB workflow or bring consistency to their prototyping process. Give it a try, and check out Achim’s other repositories for more KiCad tips and tools!
How to use
For those new to adding custom libraries to KiCad or who want a quick guide to getting this up and running, here’s a step-by-step on how to integrate and use the “mouse-bite.pretty” library in your PCB projects.
Step 1: Clone or Download the Repository
Clone: Open a terminal, navigate to your desired library location, and run:
git clone https://github.com/AchimPieters/mouse-bite.pretty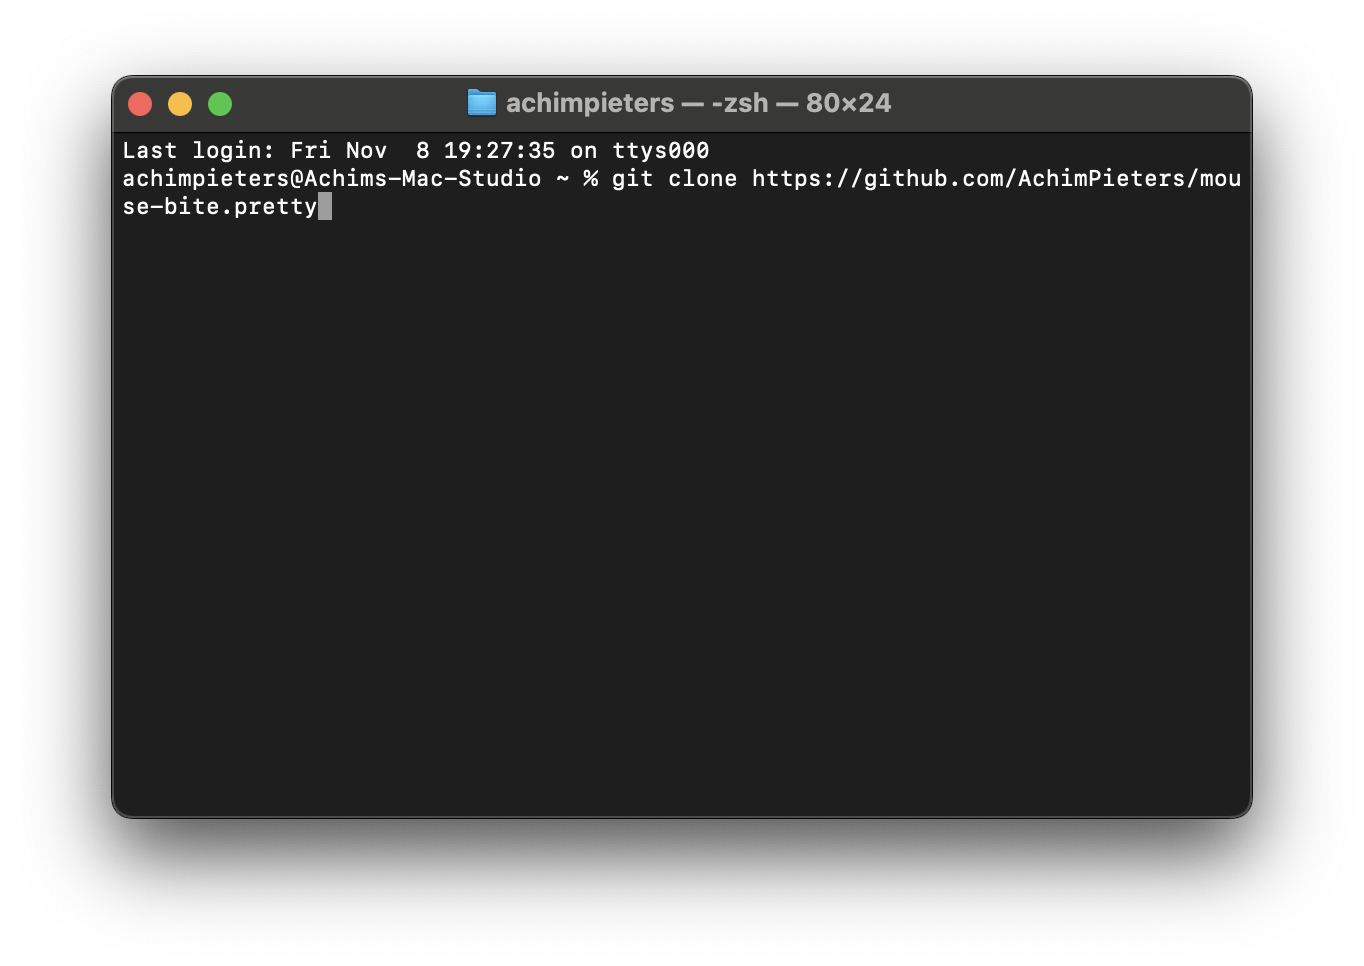
Download: Alternatively, visit the GitHub page, click on Code > Download ZIP. Unzip the file in your preferred directory.
Step 2: Adding the Library to KiCad
To make the library accessible in KiCad, follow these steps:
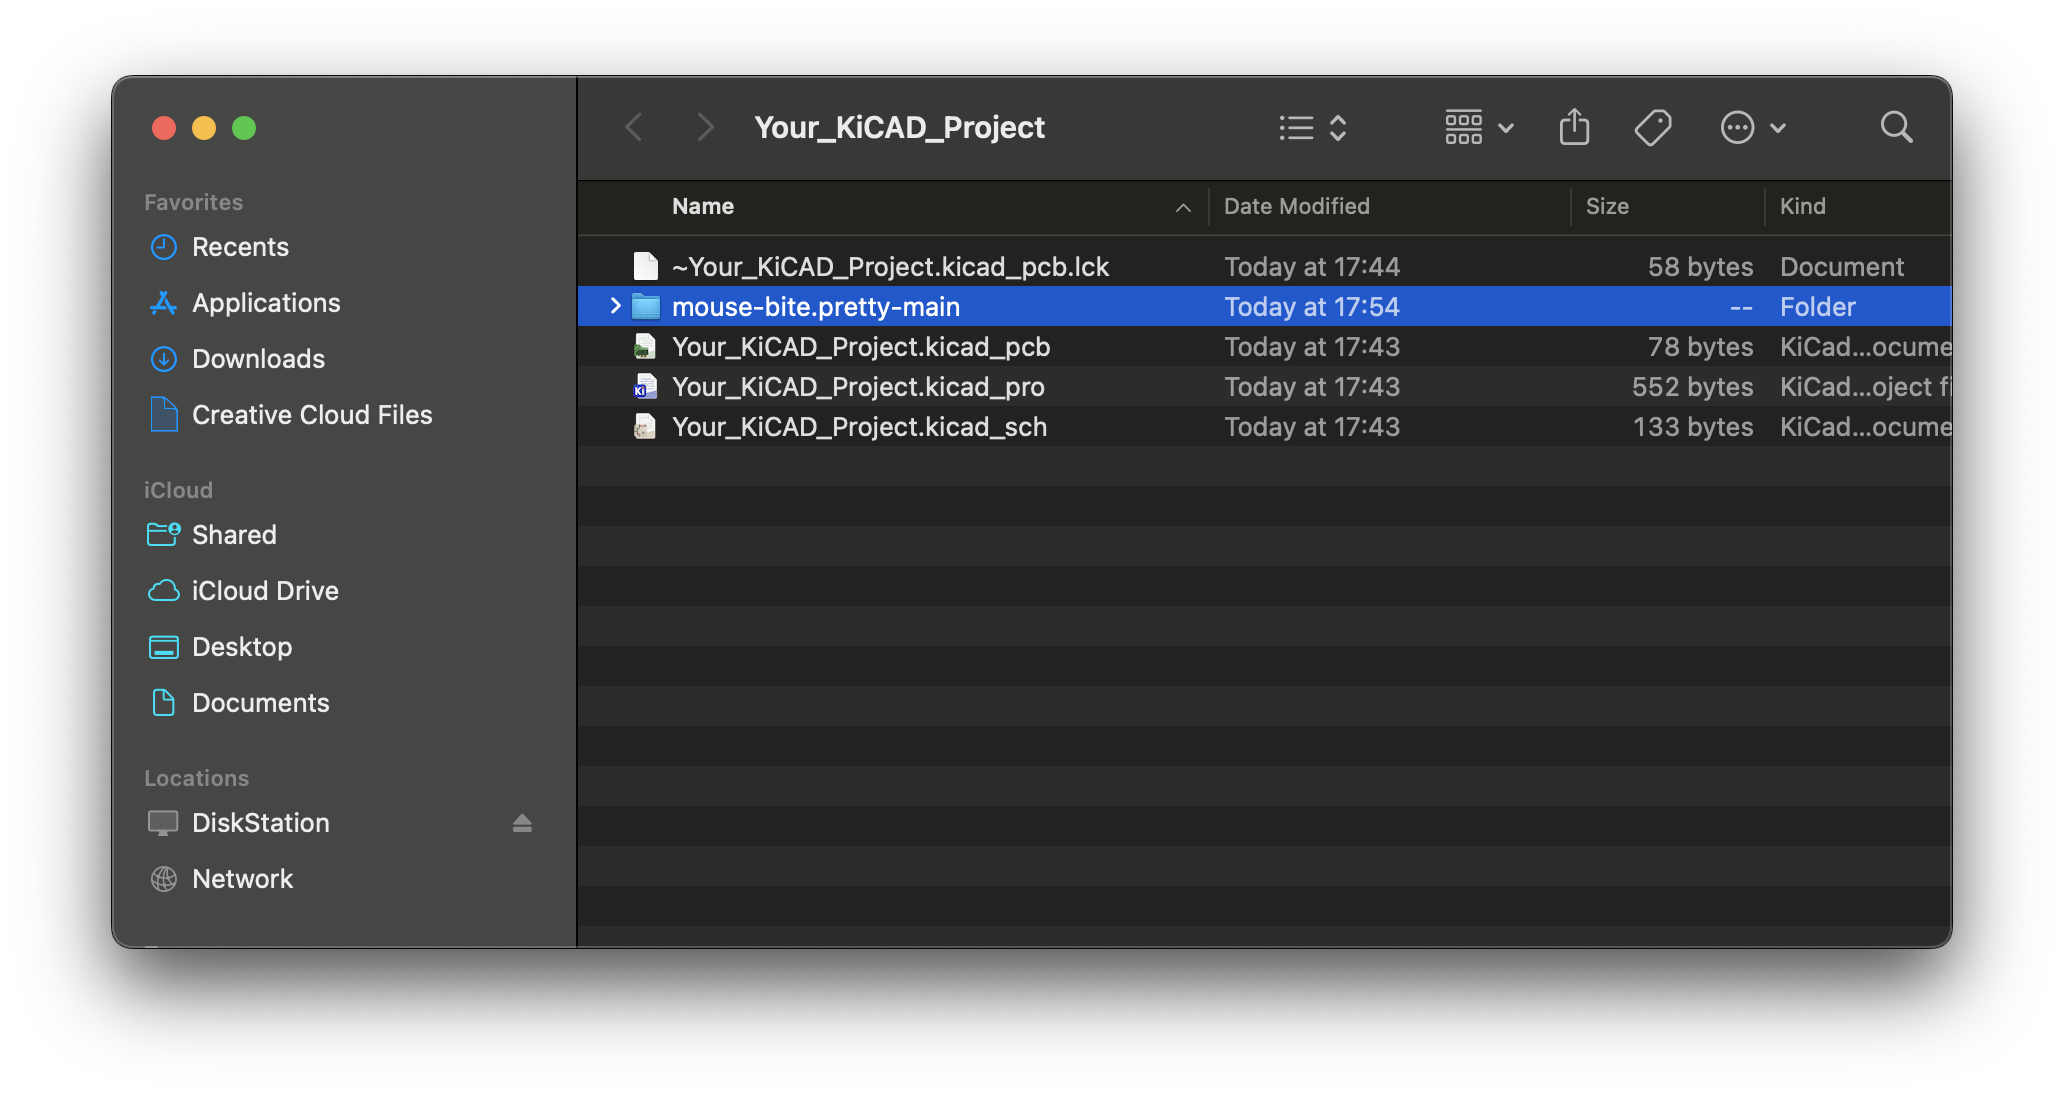
- Place the the downloaded folder and files in your project folder.
- Open KiCad and go to the PCB Editor (Pcbnew).
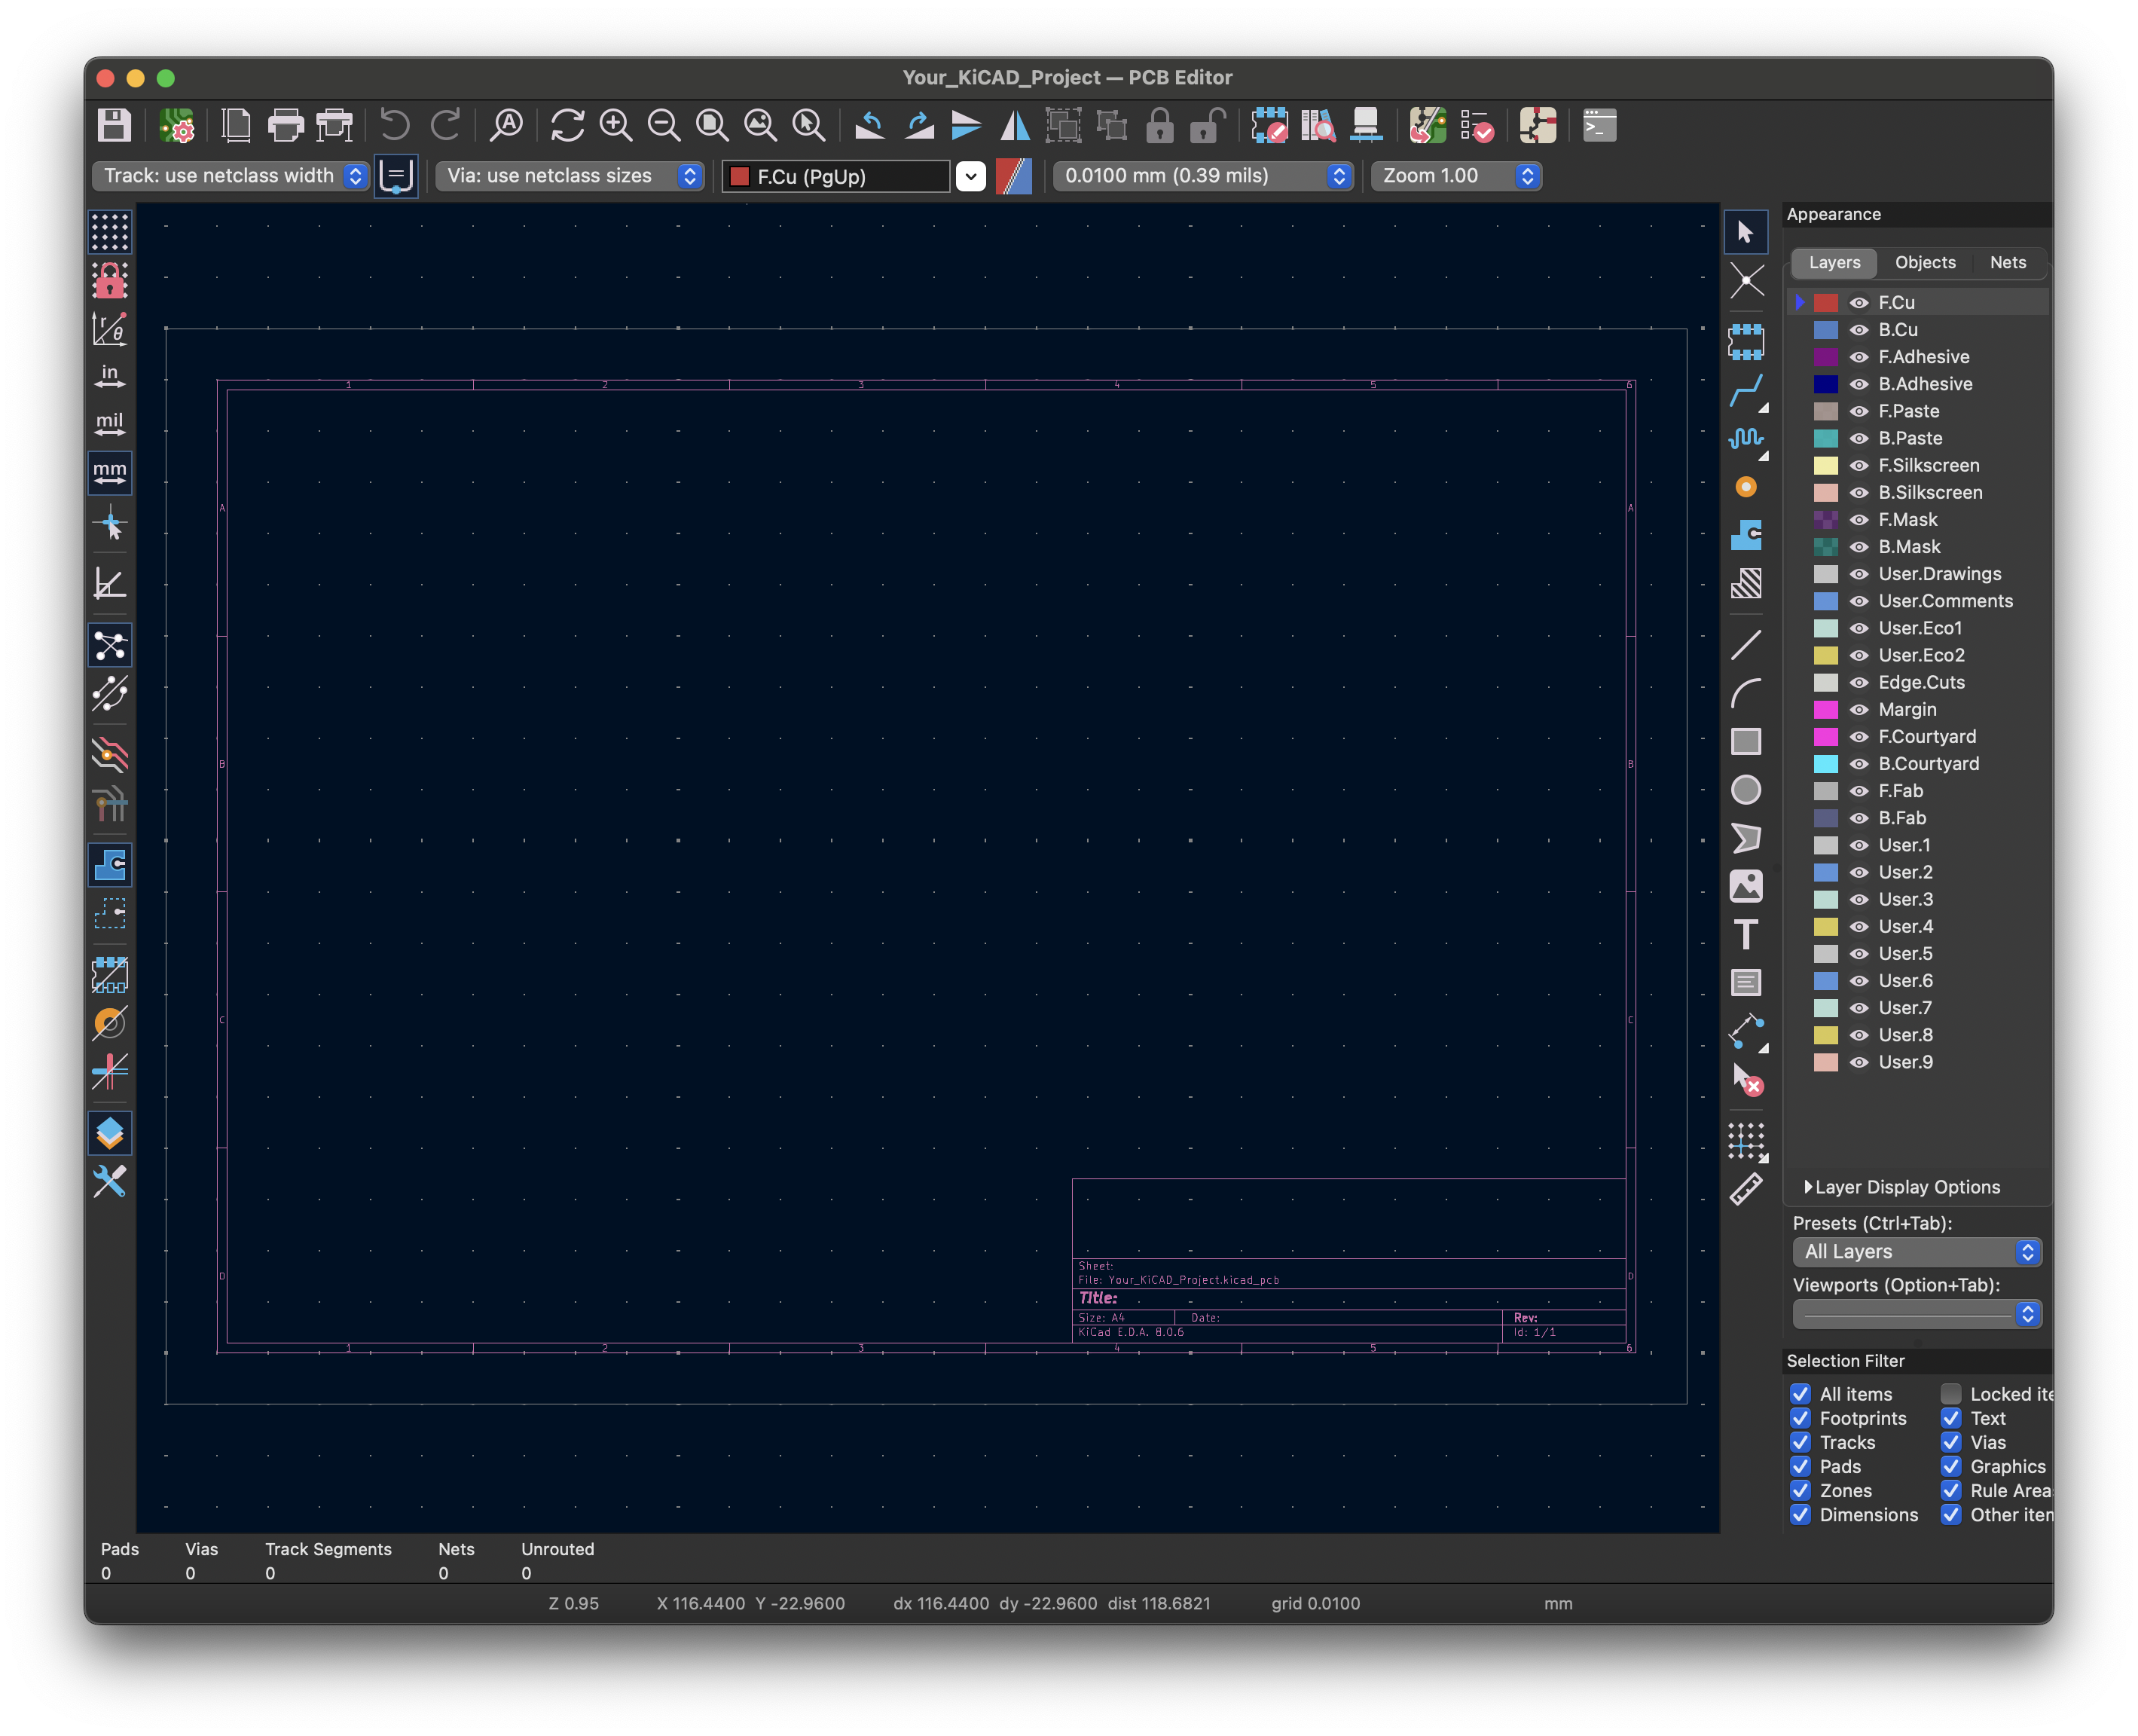
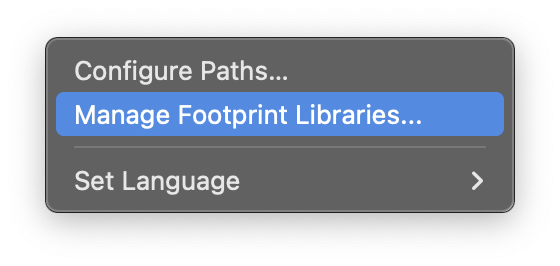
- Go to Preferences > Manage Footprint Libraries.
- In the dialog that appears, go to the Project Specific Libraries tab (or Global Libraries if you want it available for all projects).
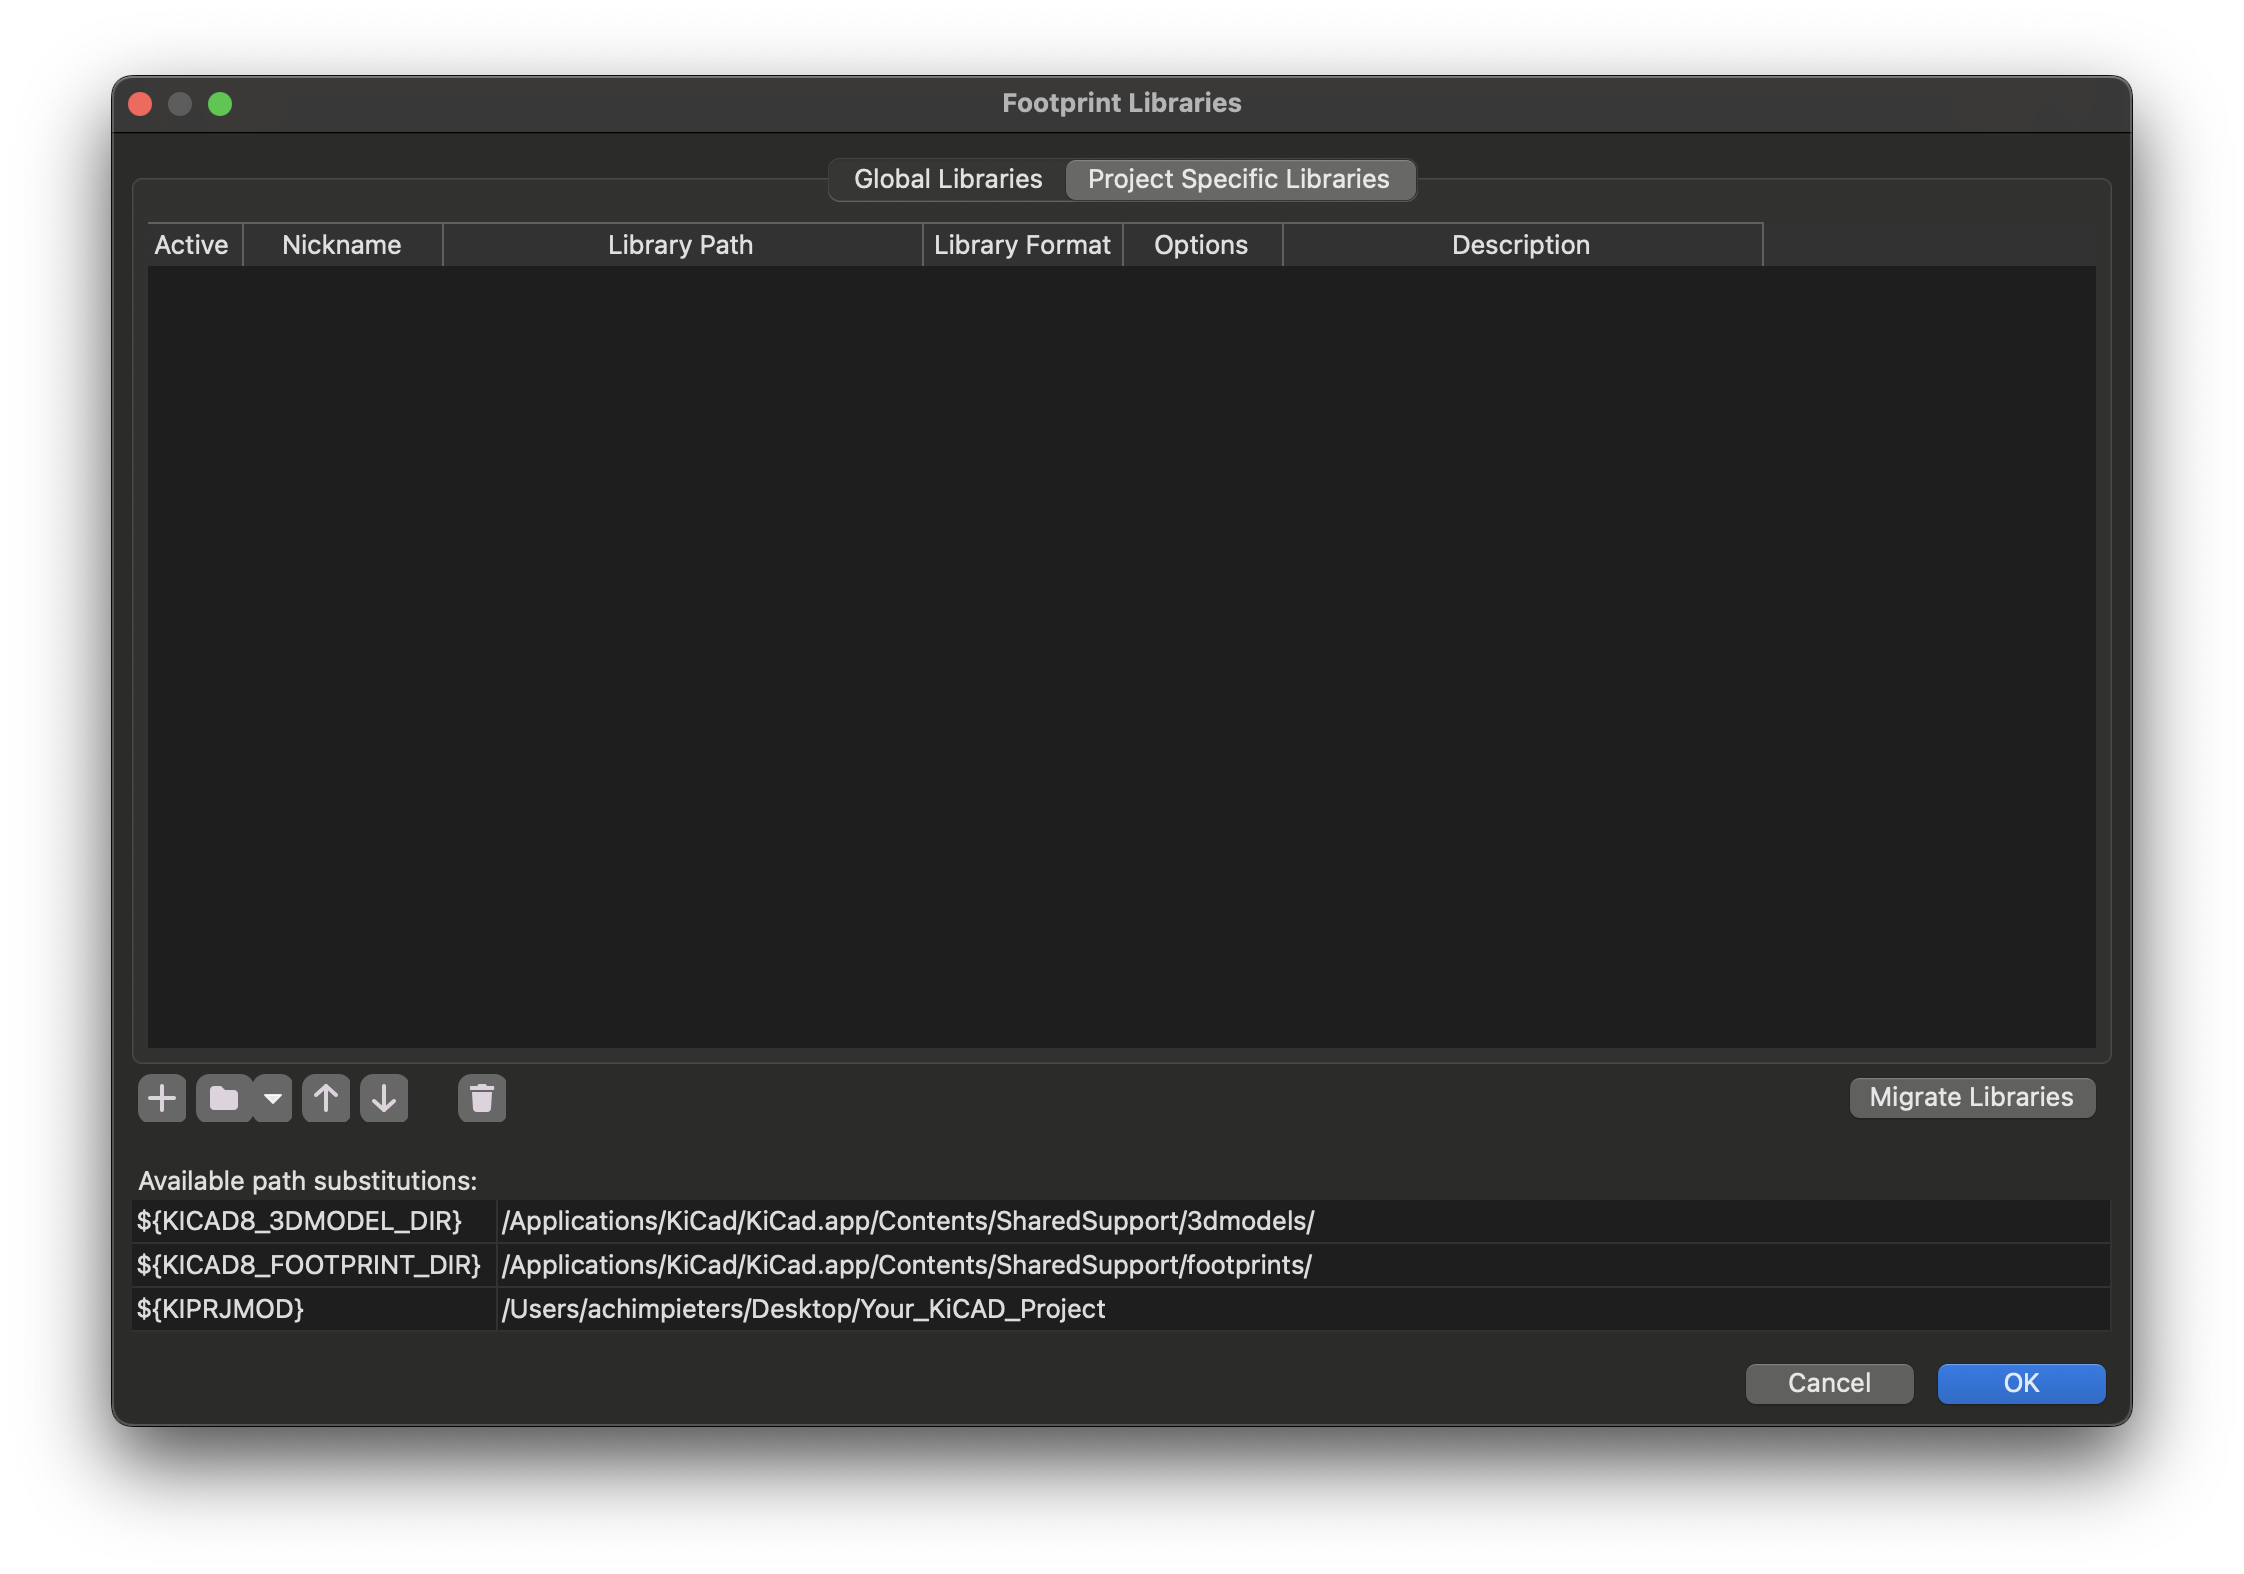
- Click the folder button next to the + sign button to add a new library.
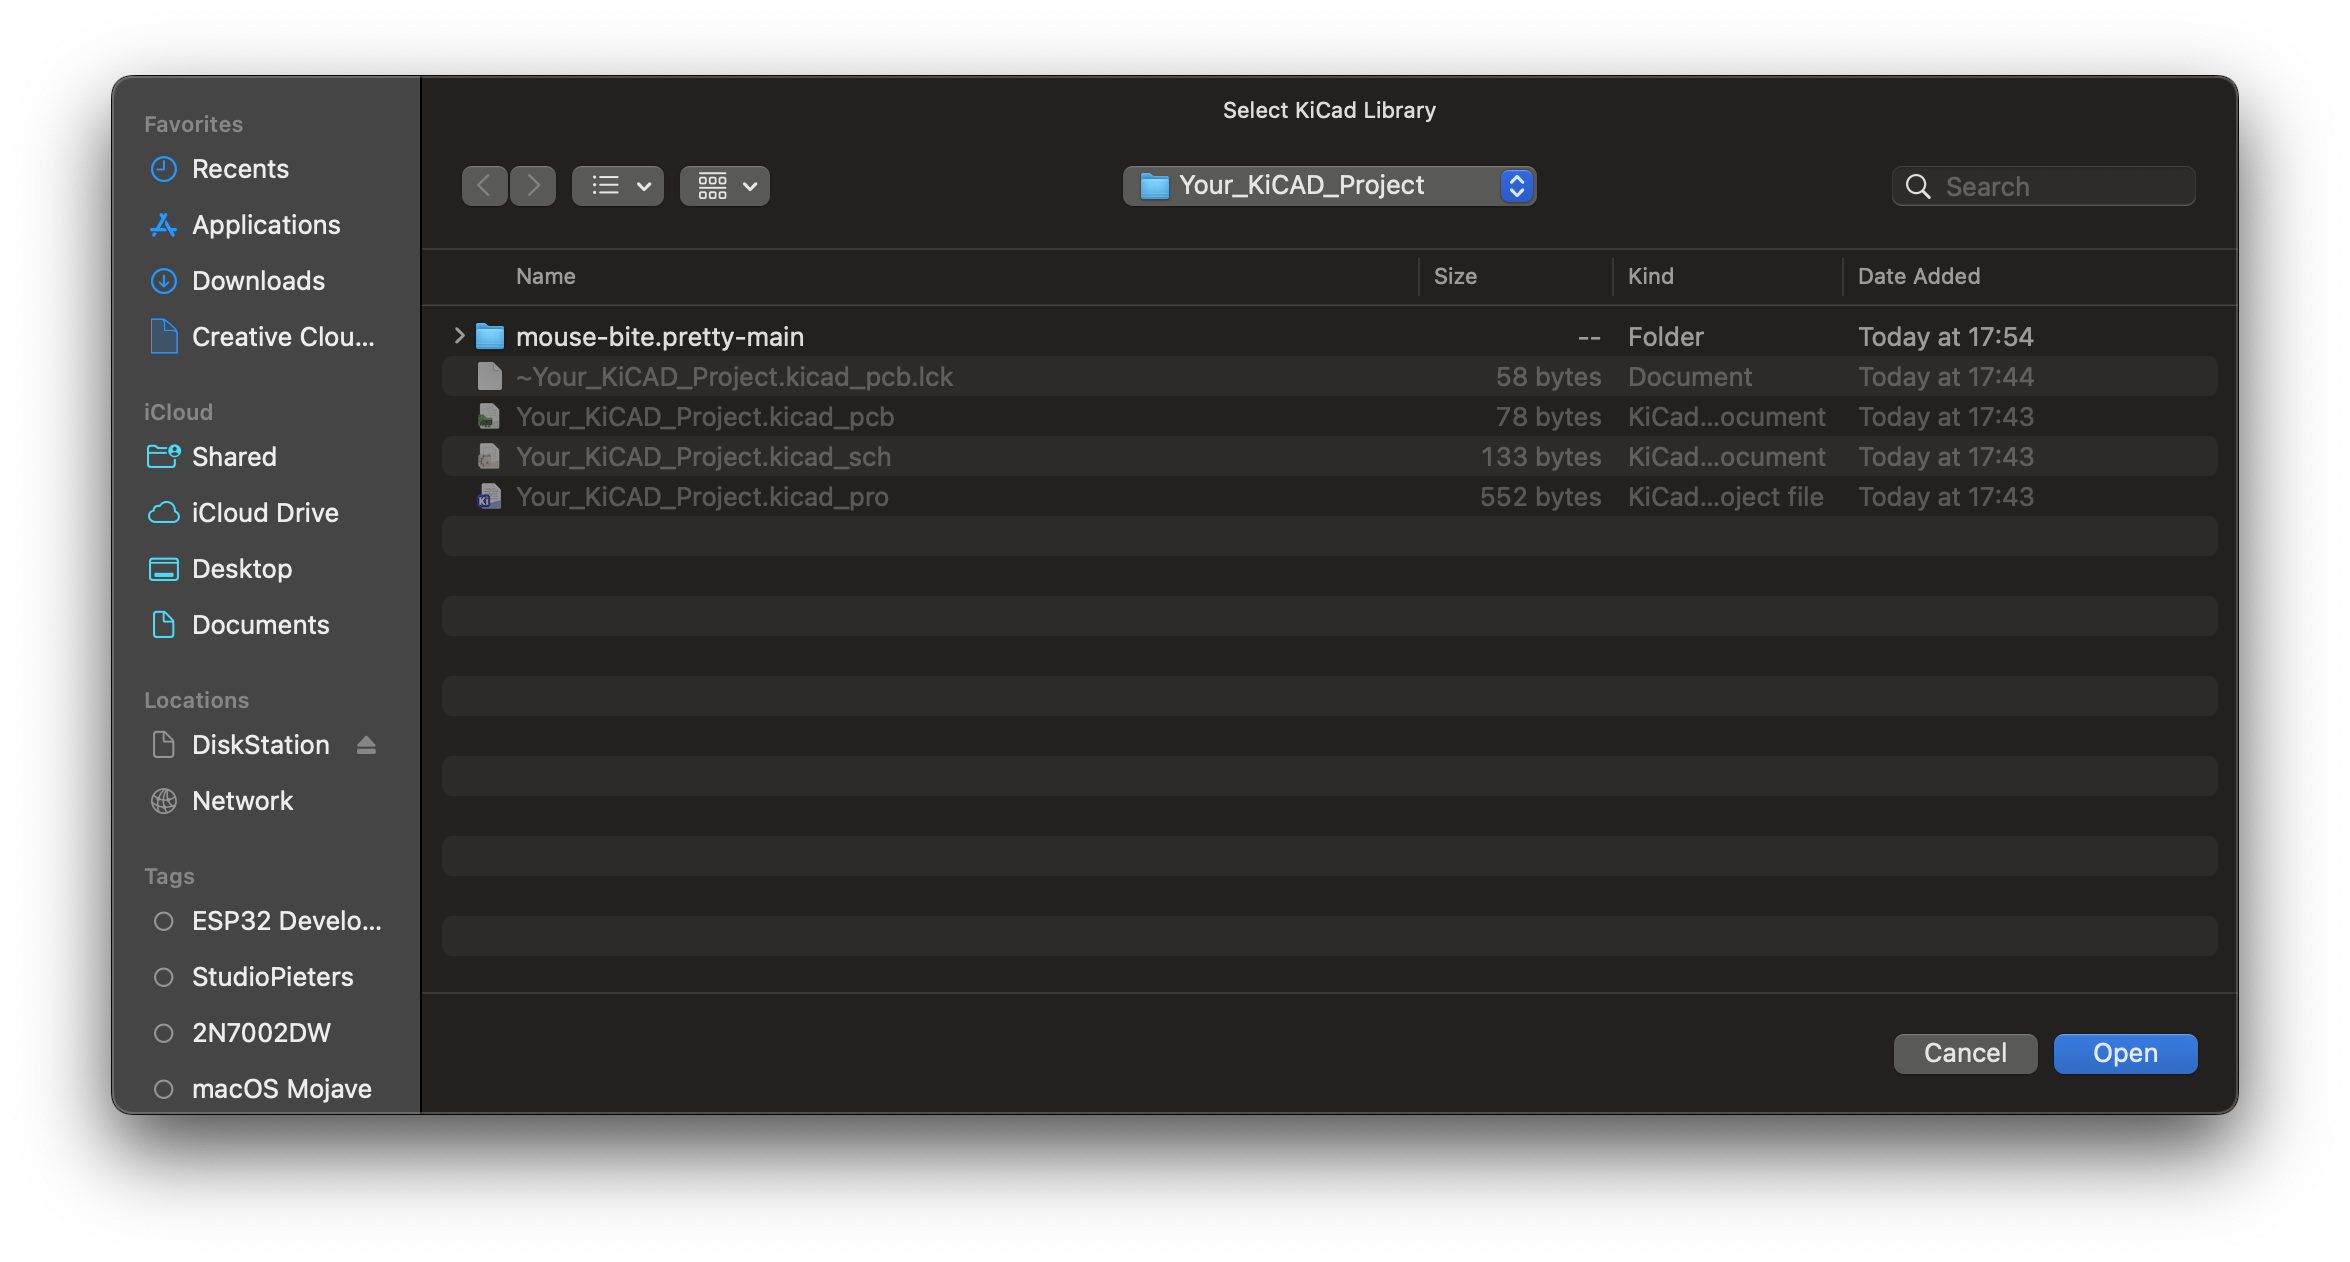
- Locate the path to the mouse-bite.pretty folder from the directory where you cloned/downloaded it.
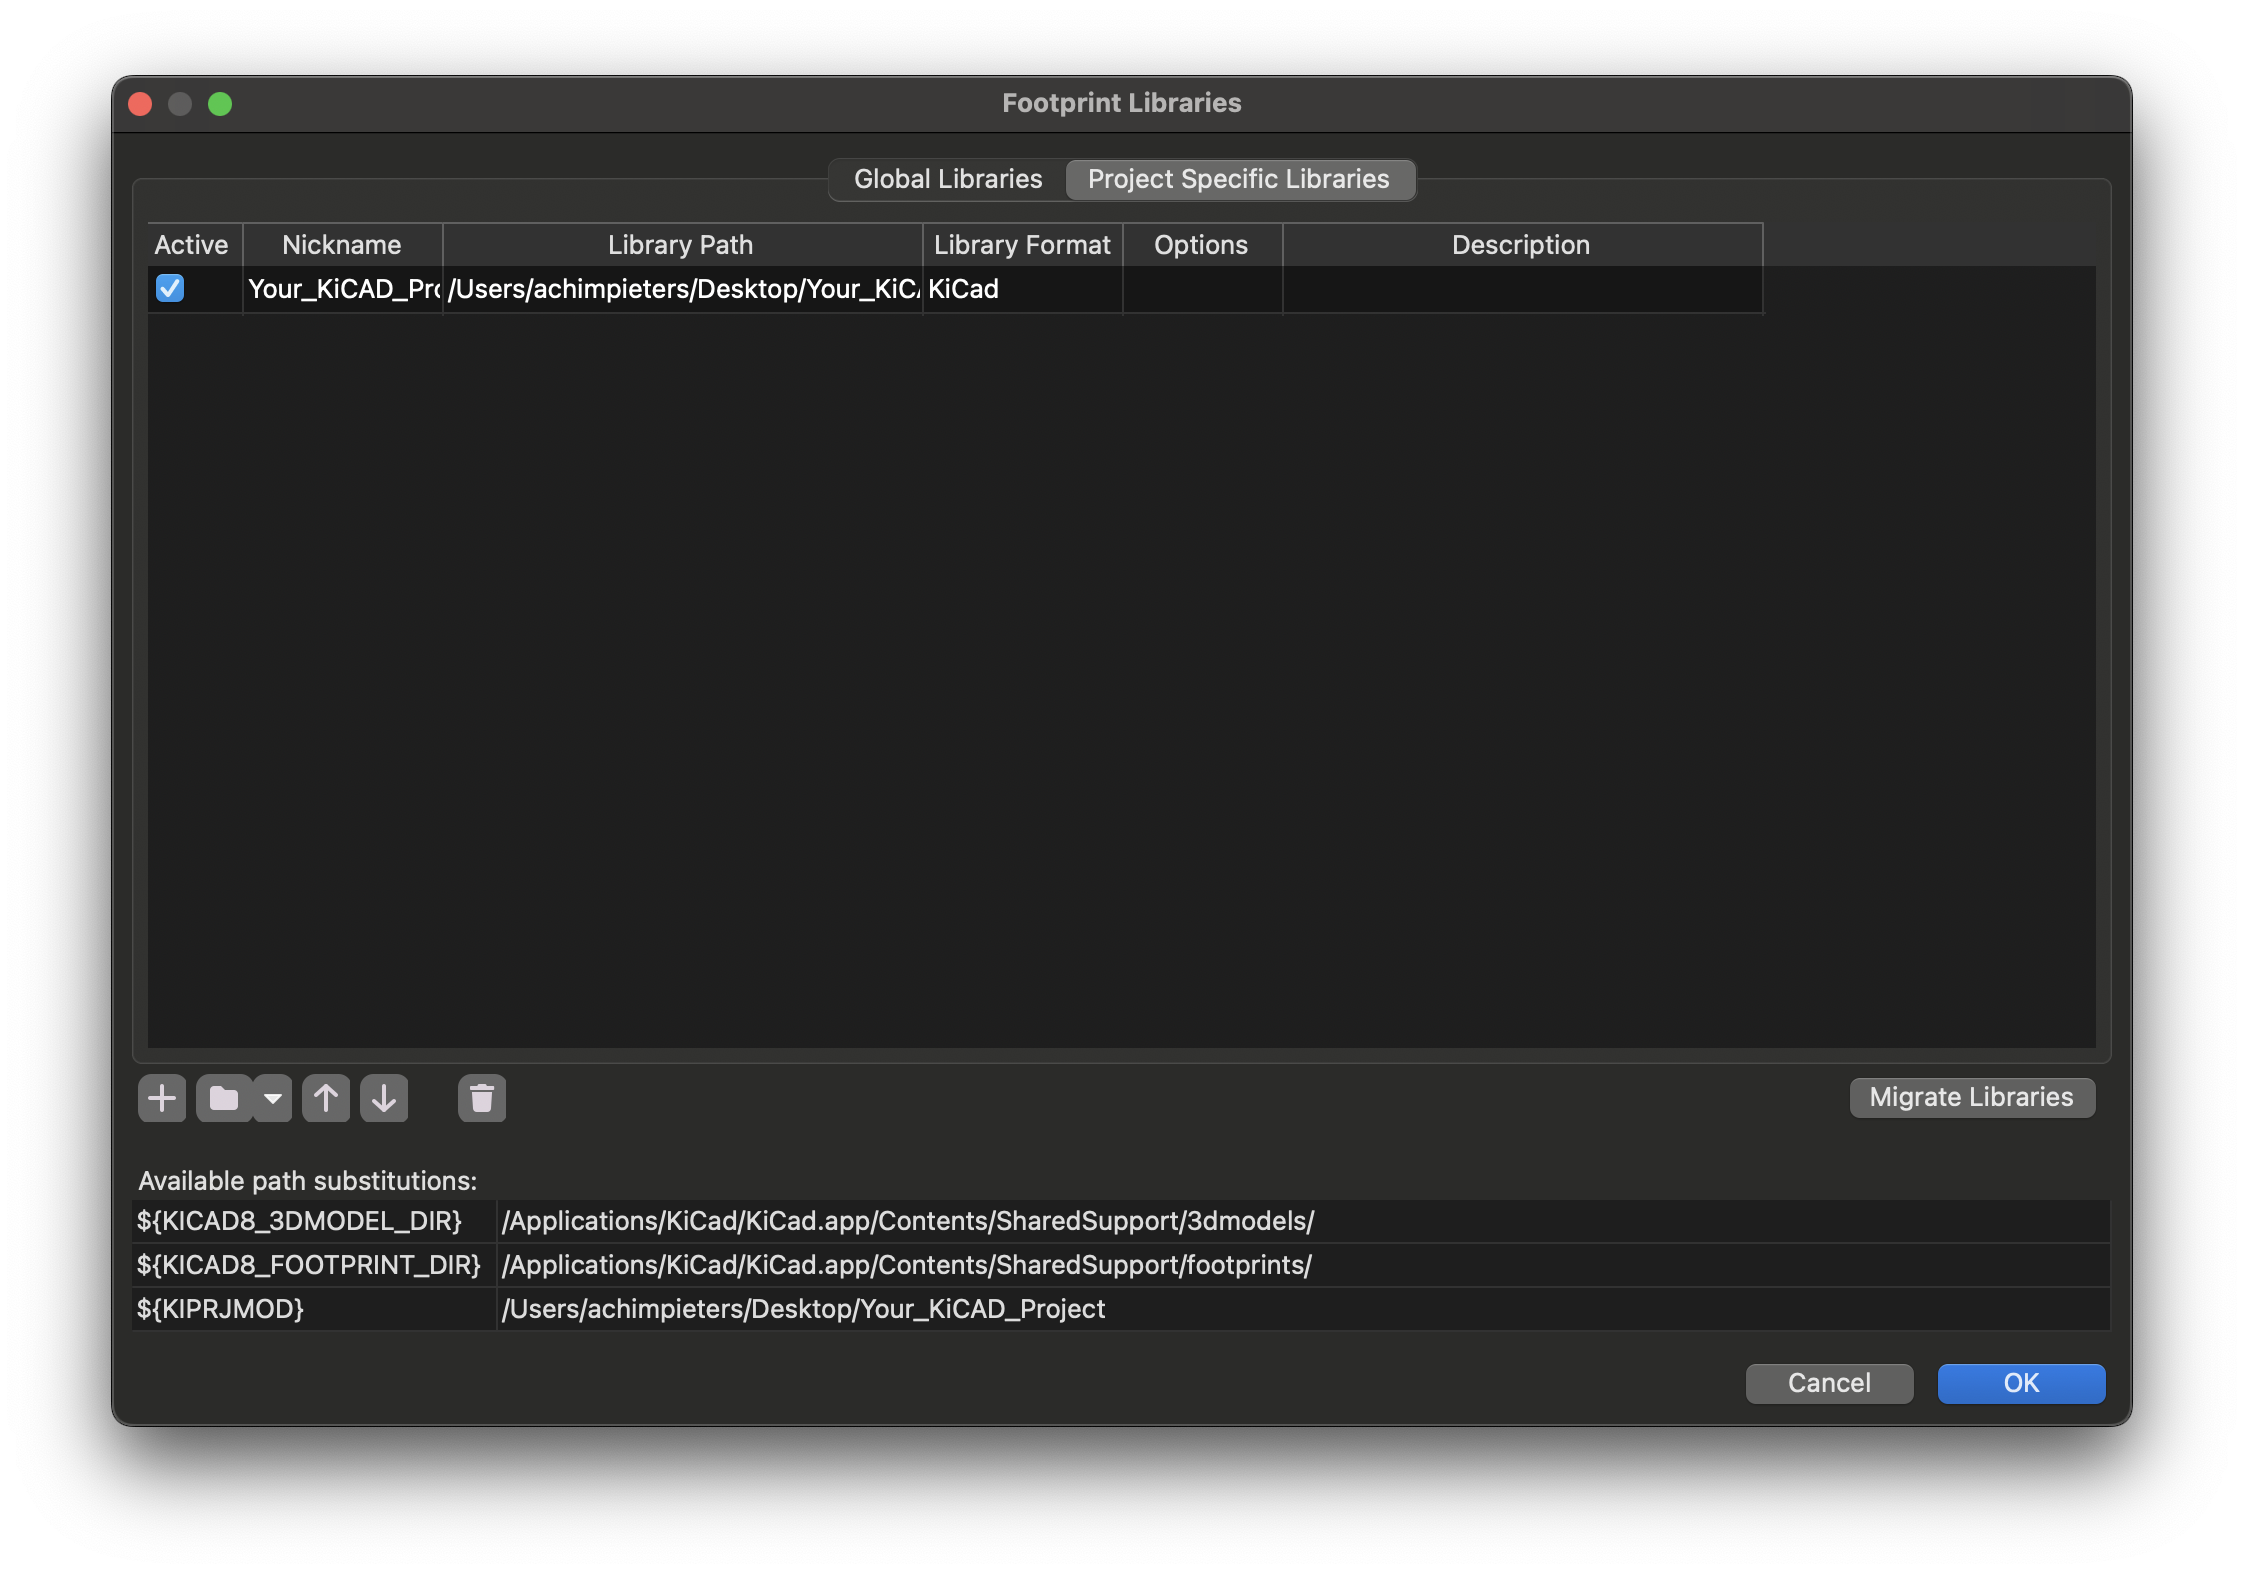
- Select it and click OK. KiCad will now recognize the library and add it to your footprint list.
Step 3: Using the Mouse Bite Footprints in Your PCB Layout
Once you’ve added the library, you can start placing mouse bites on your PCB layout. Here’s how:
- In Pcbnew, open your board layout.
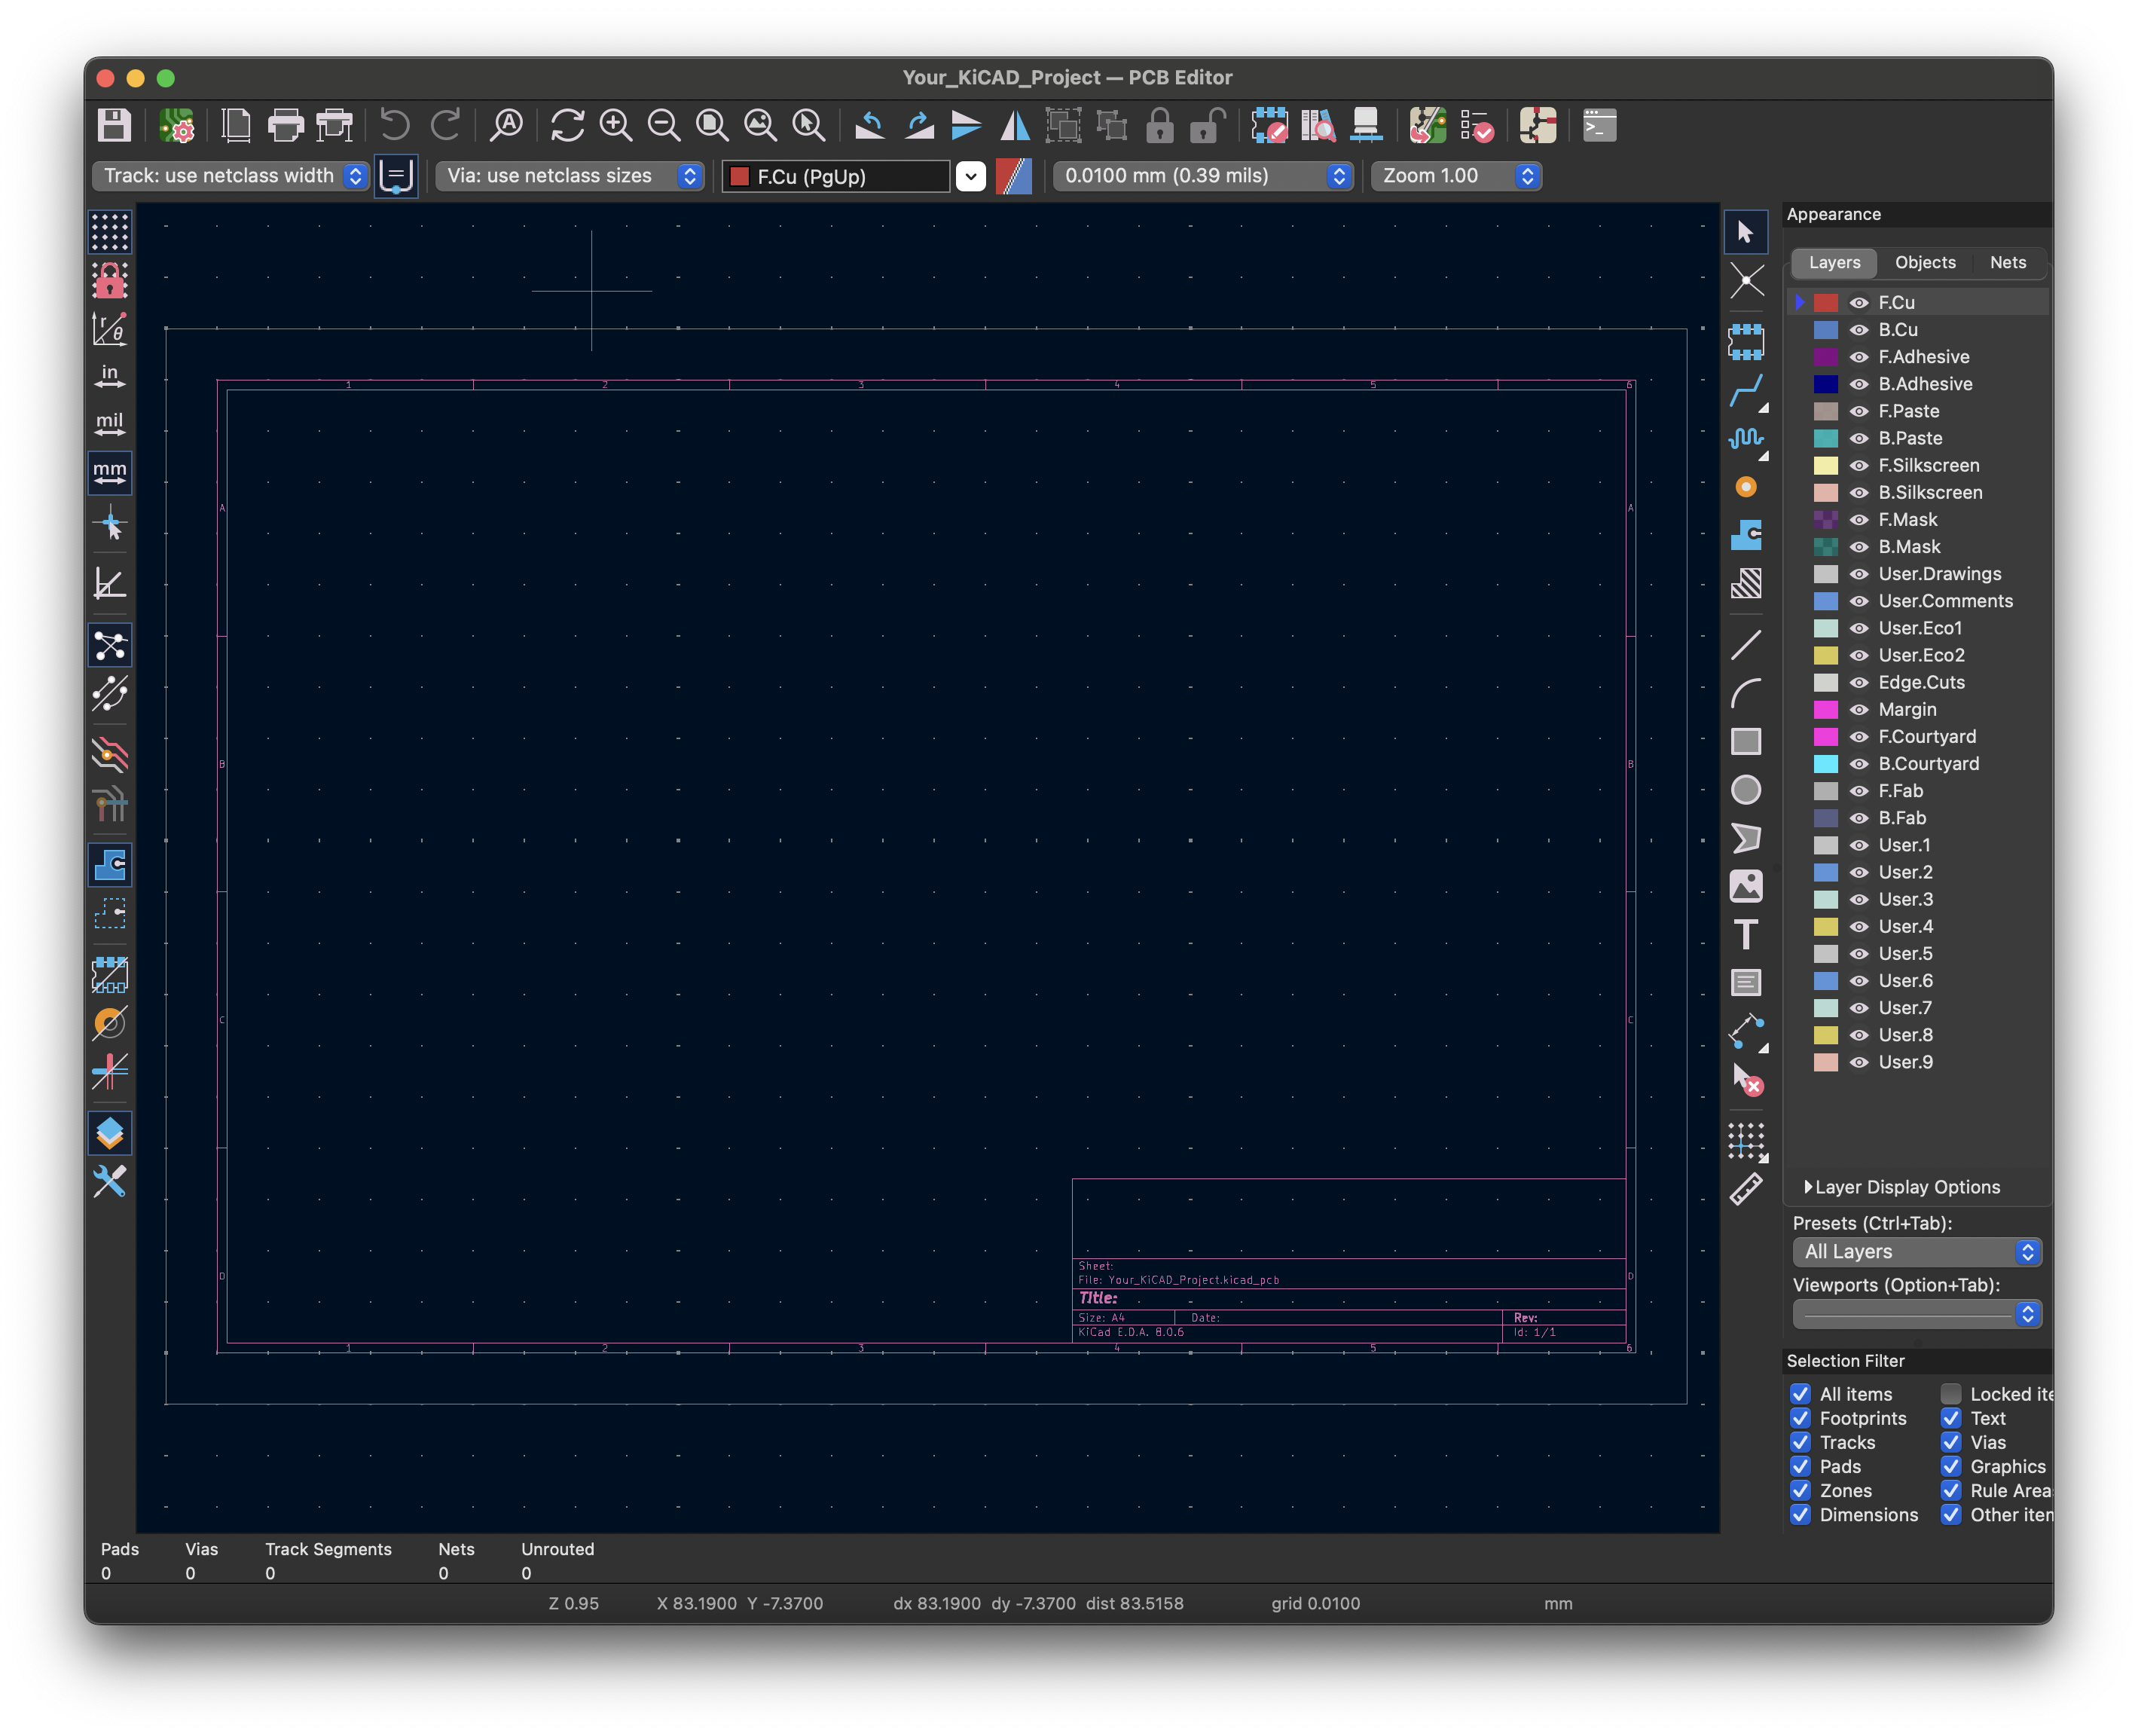
- Press A to add a footprint, then look for the “mouse-bite.pretty” library from the list on the left. (Alternatively, use the footprint filter to quickly locate it.)
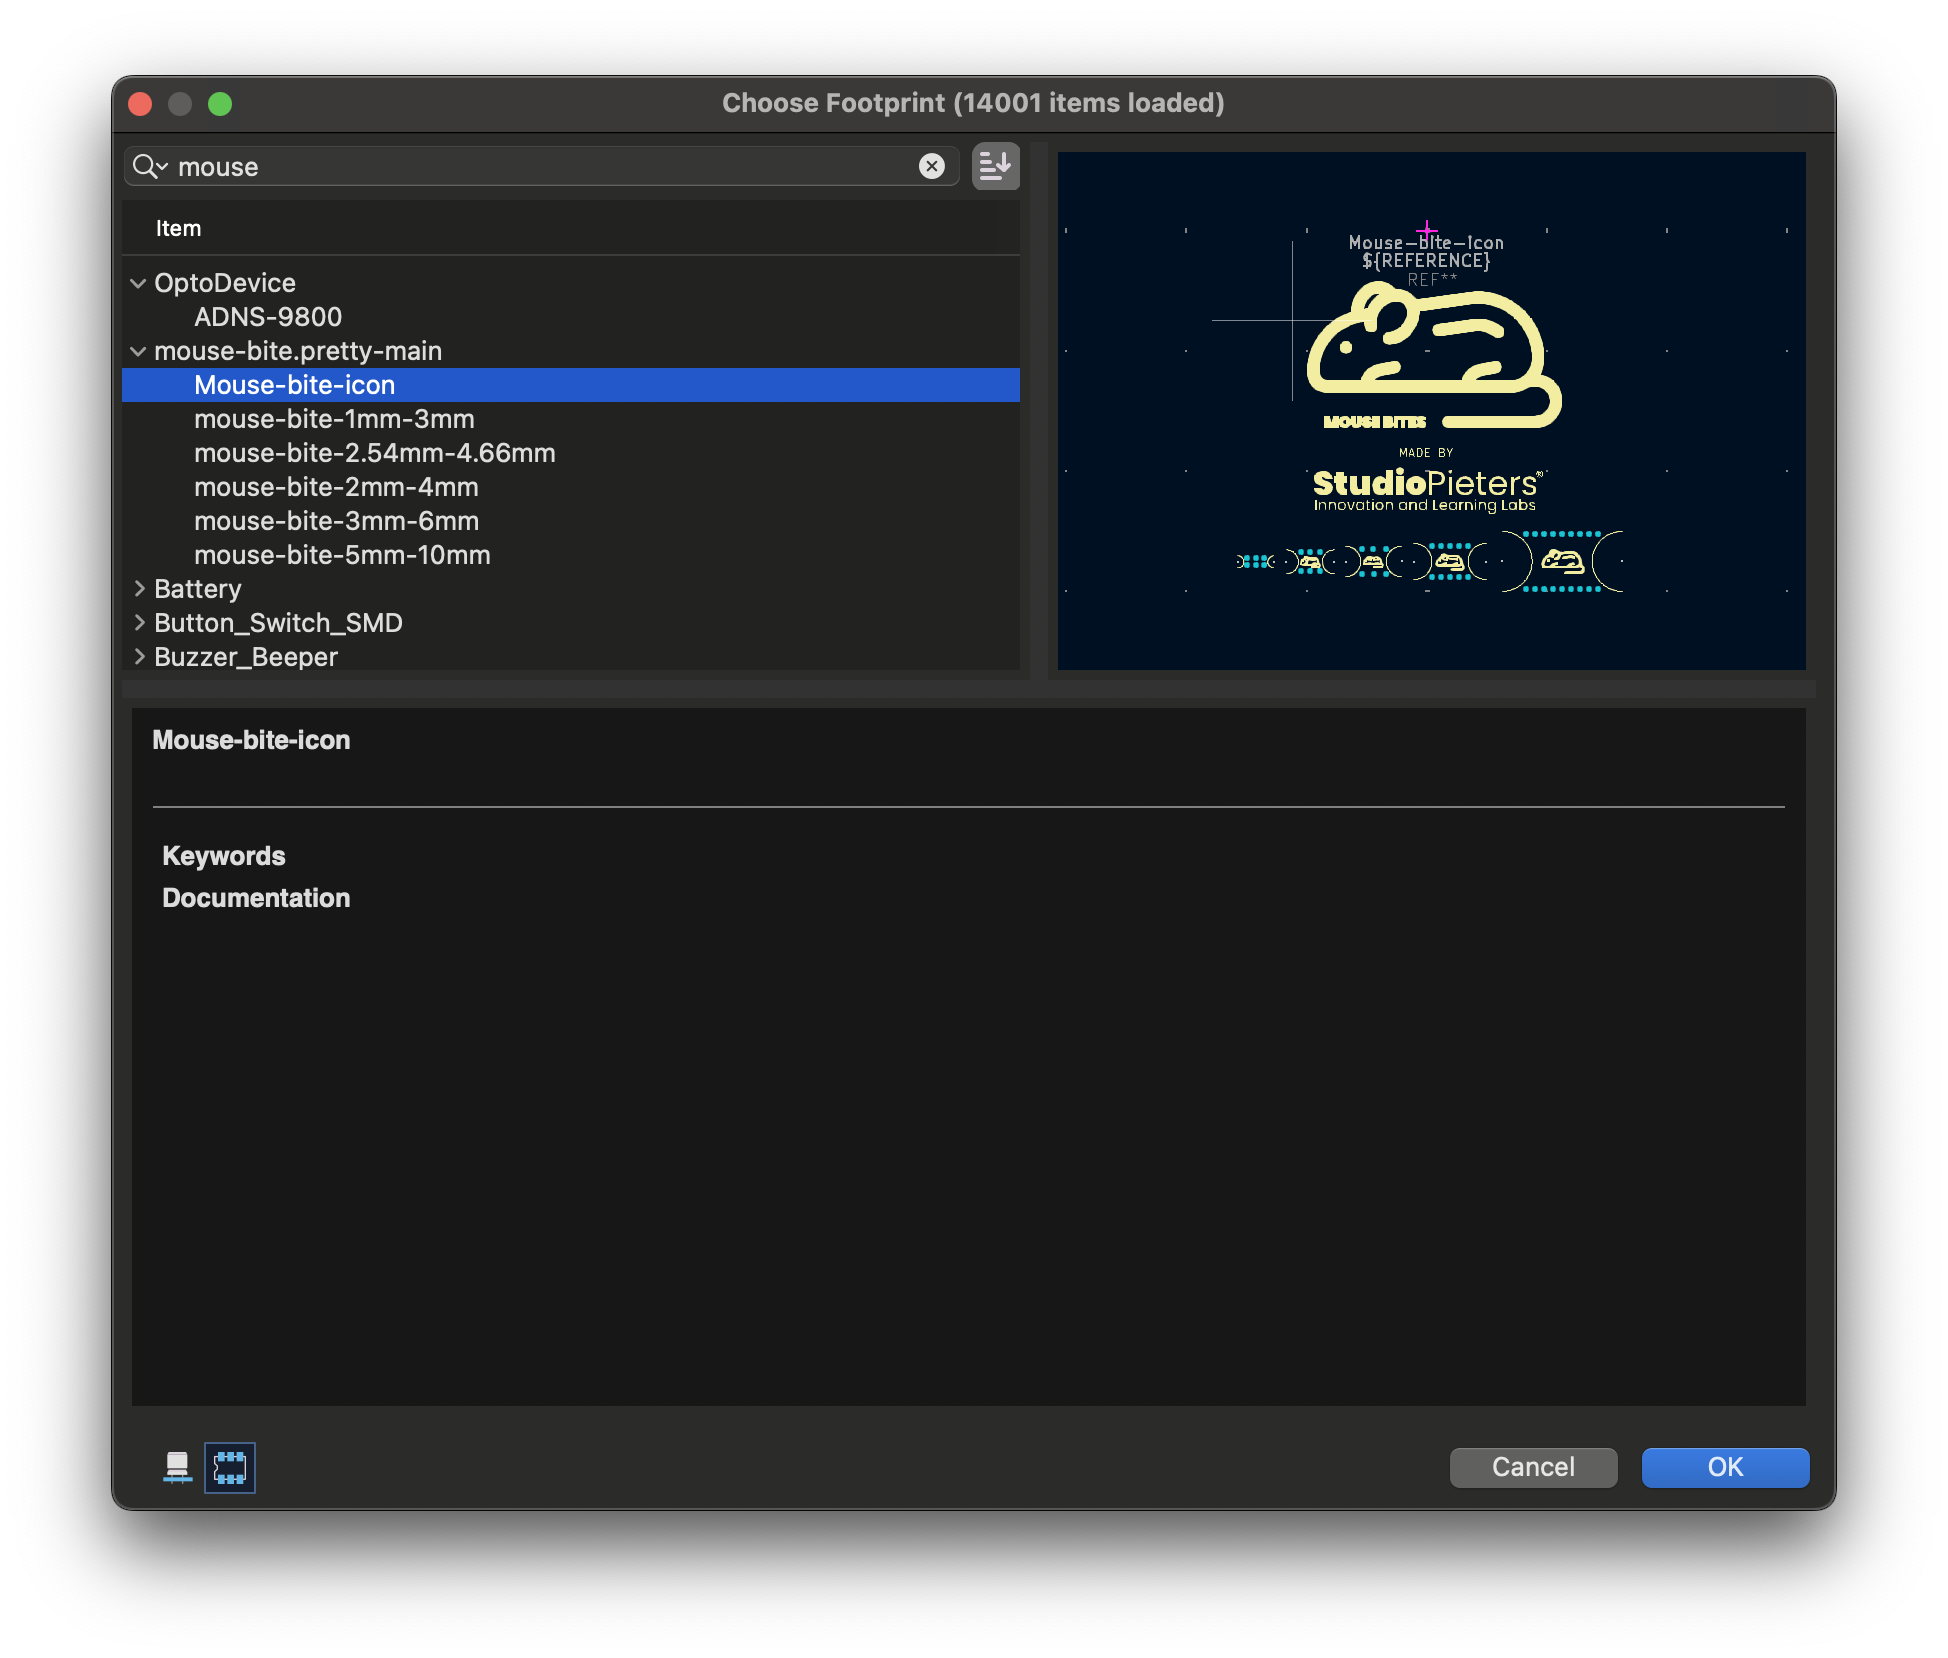
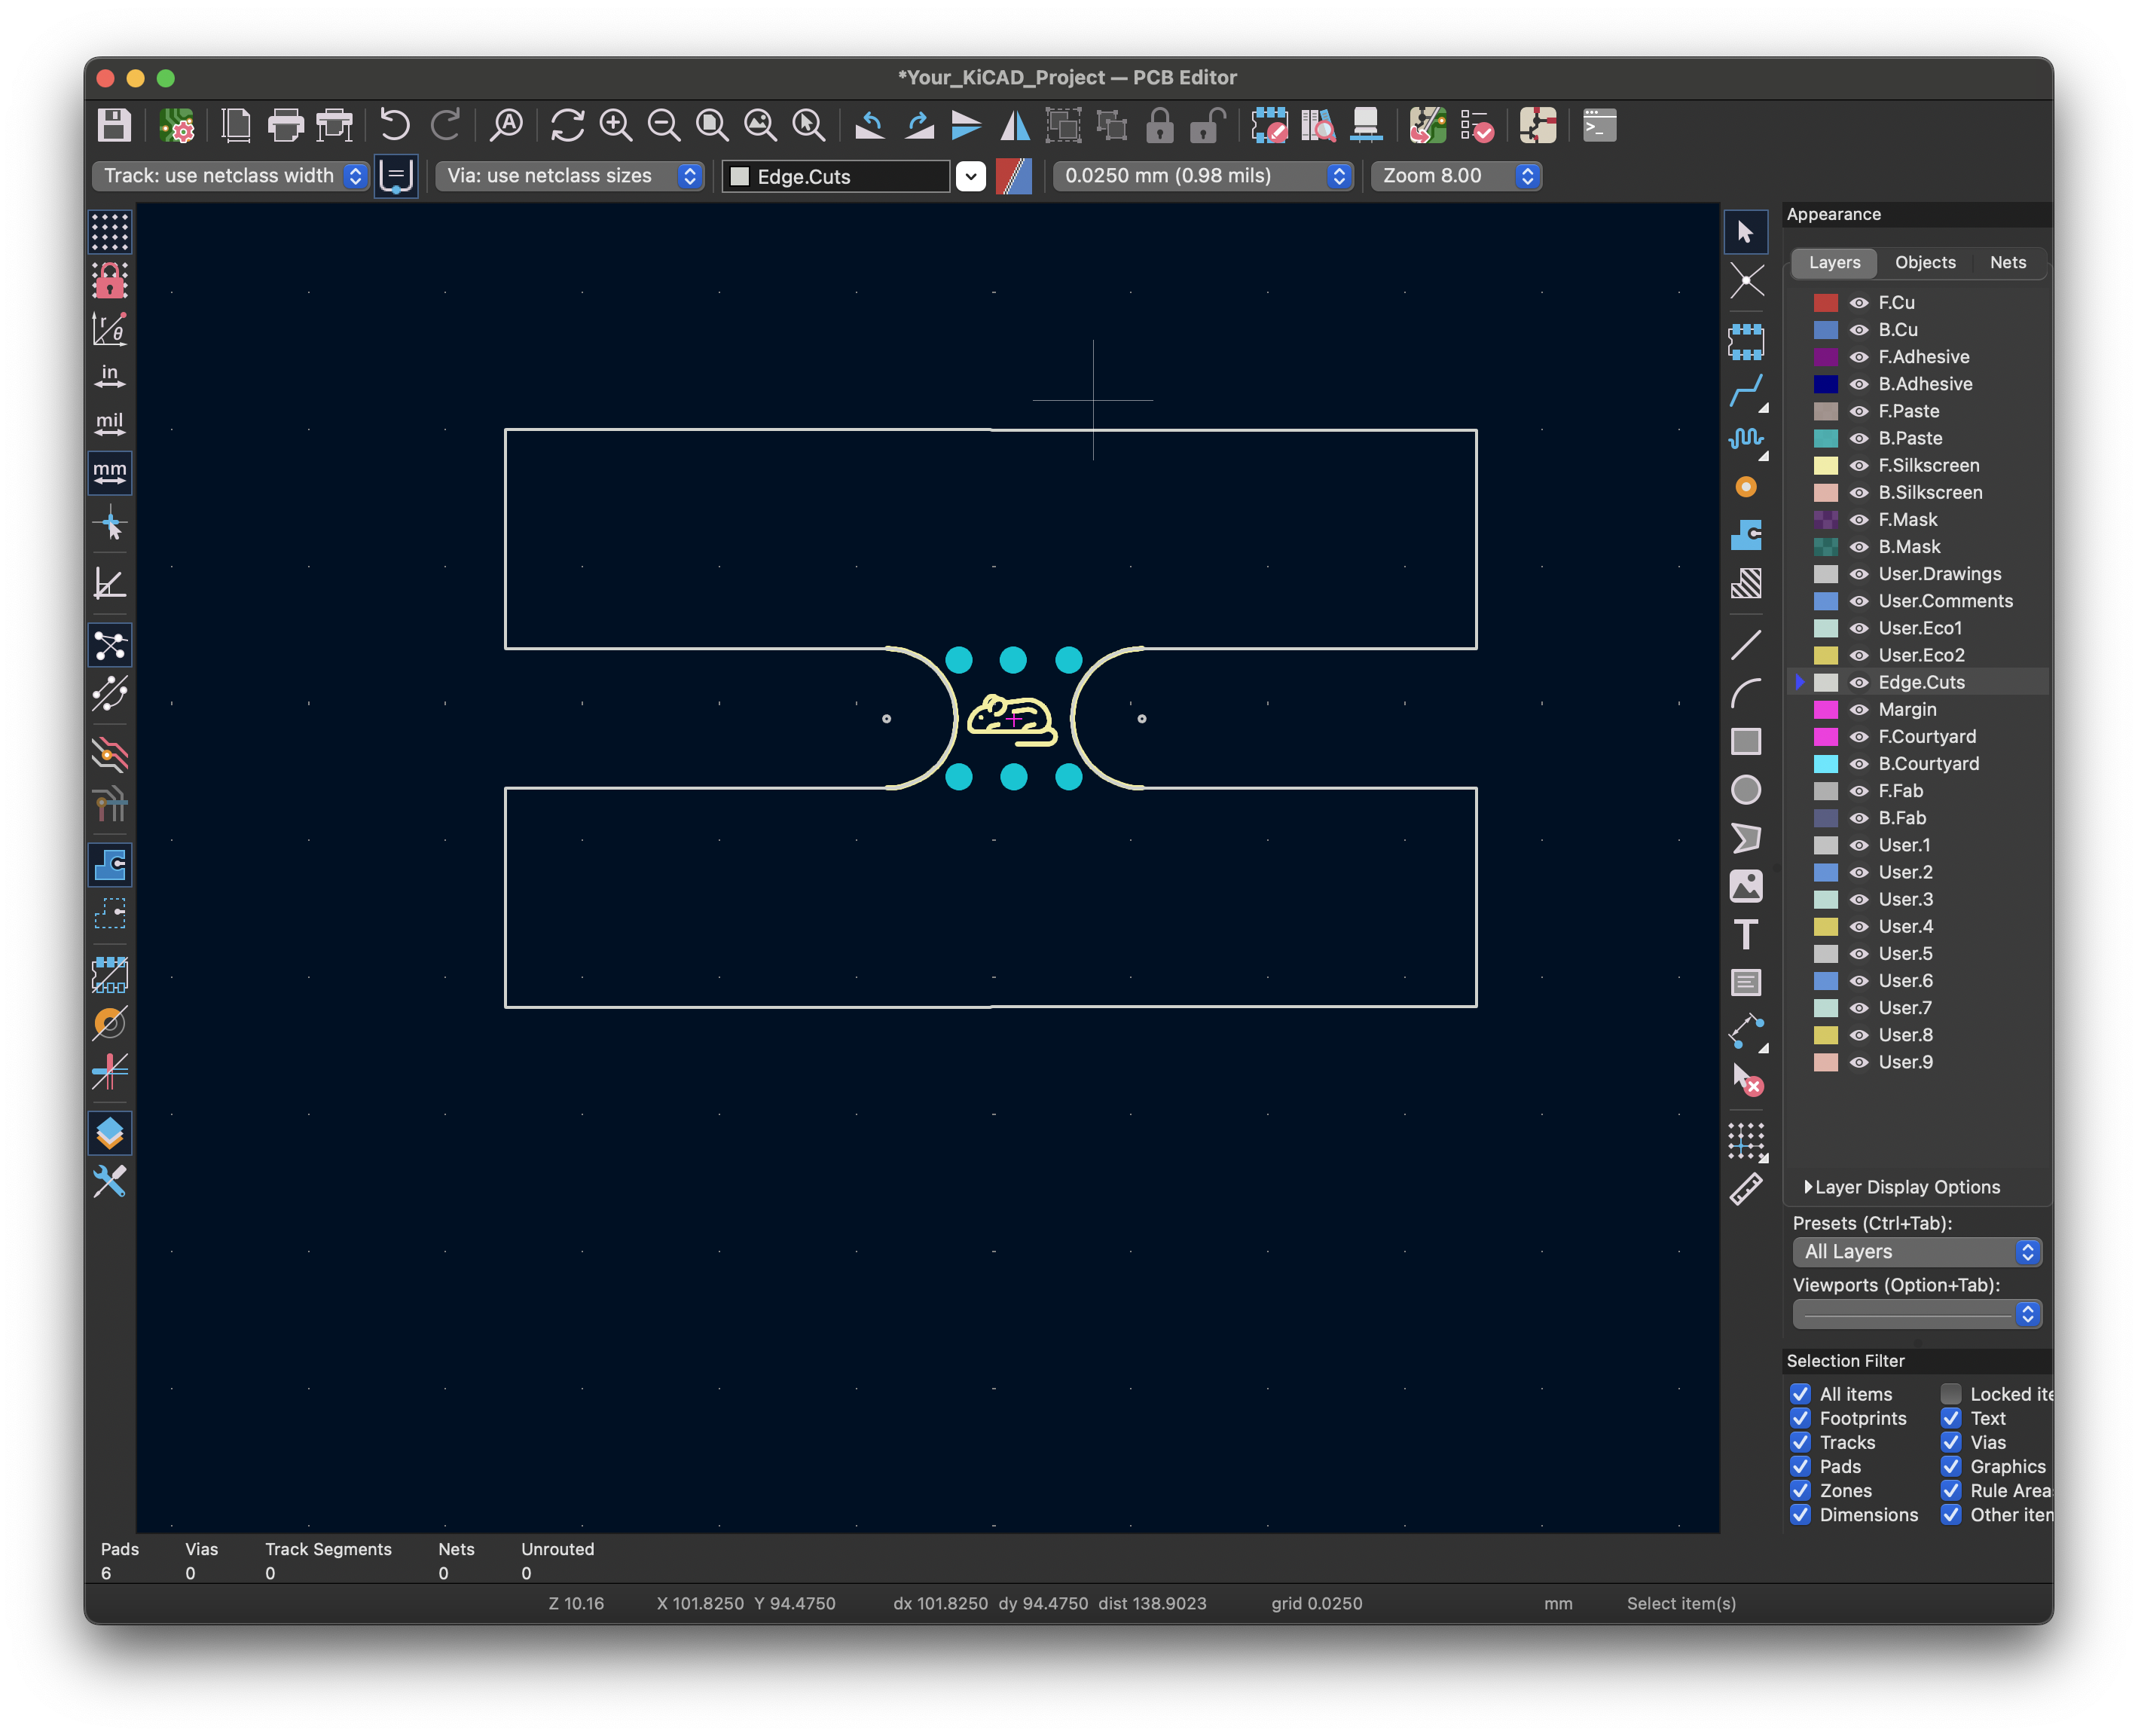
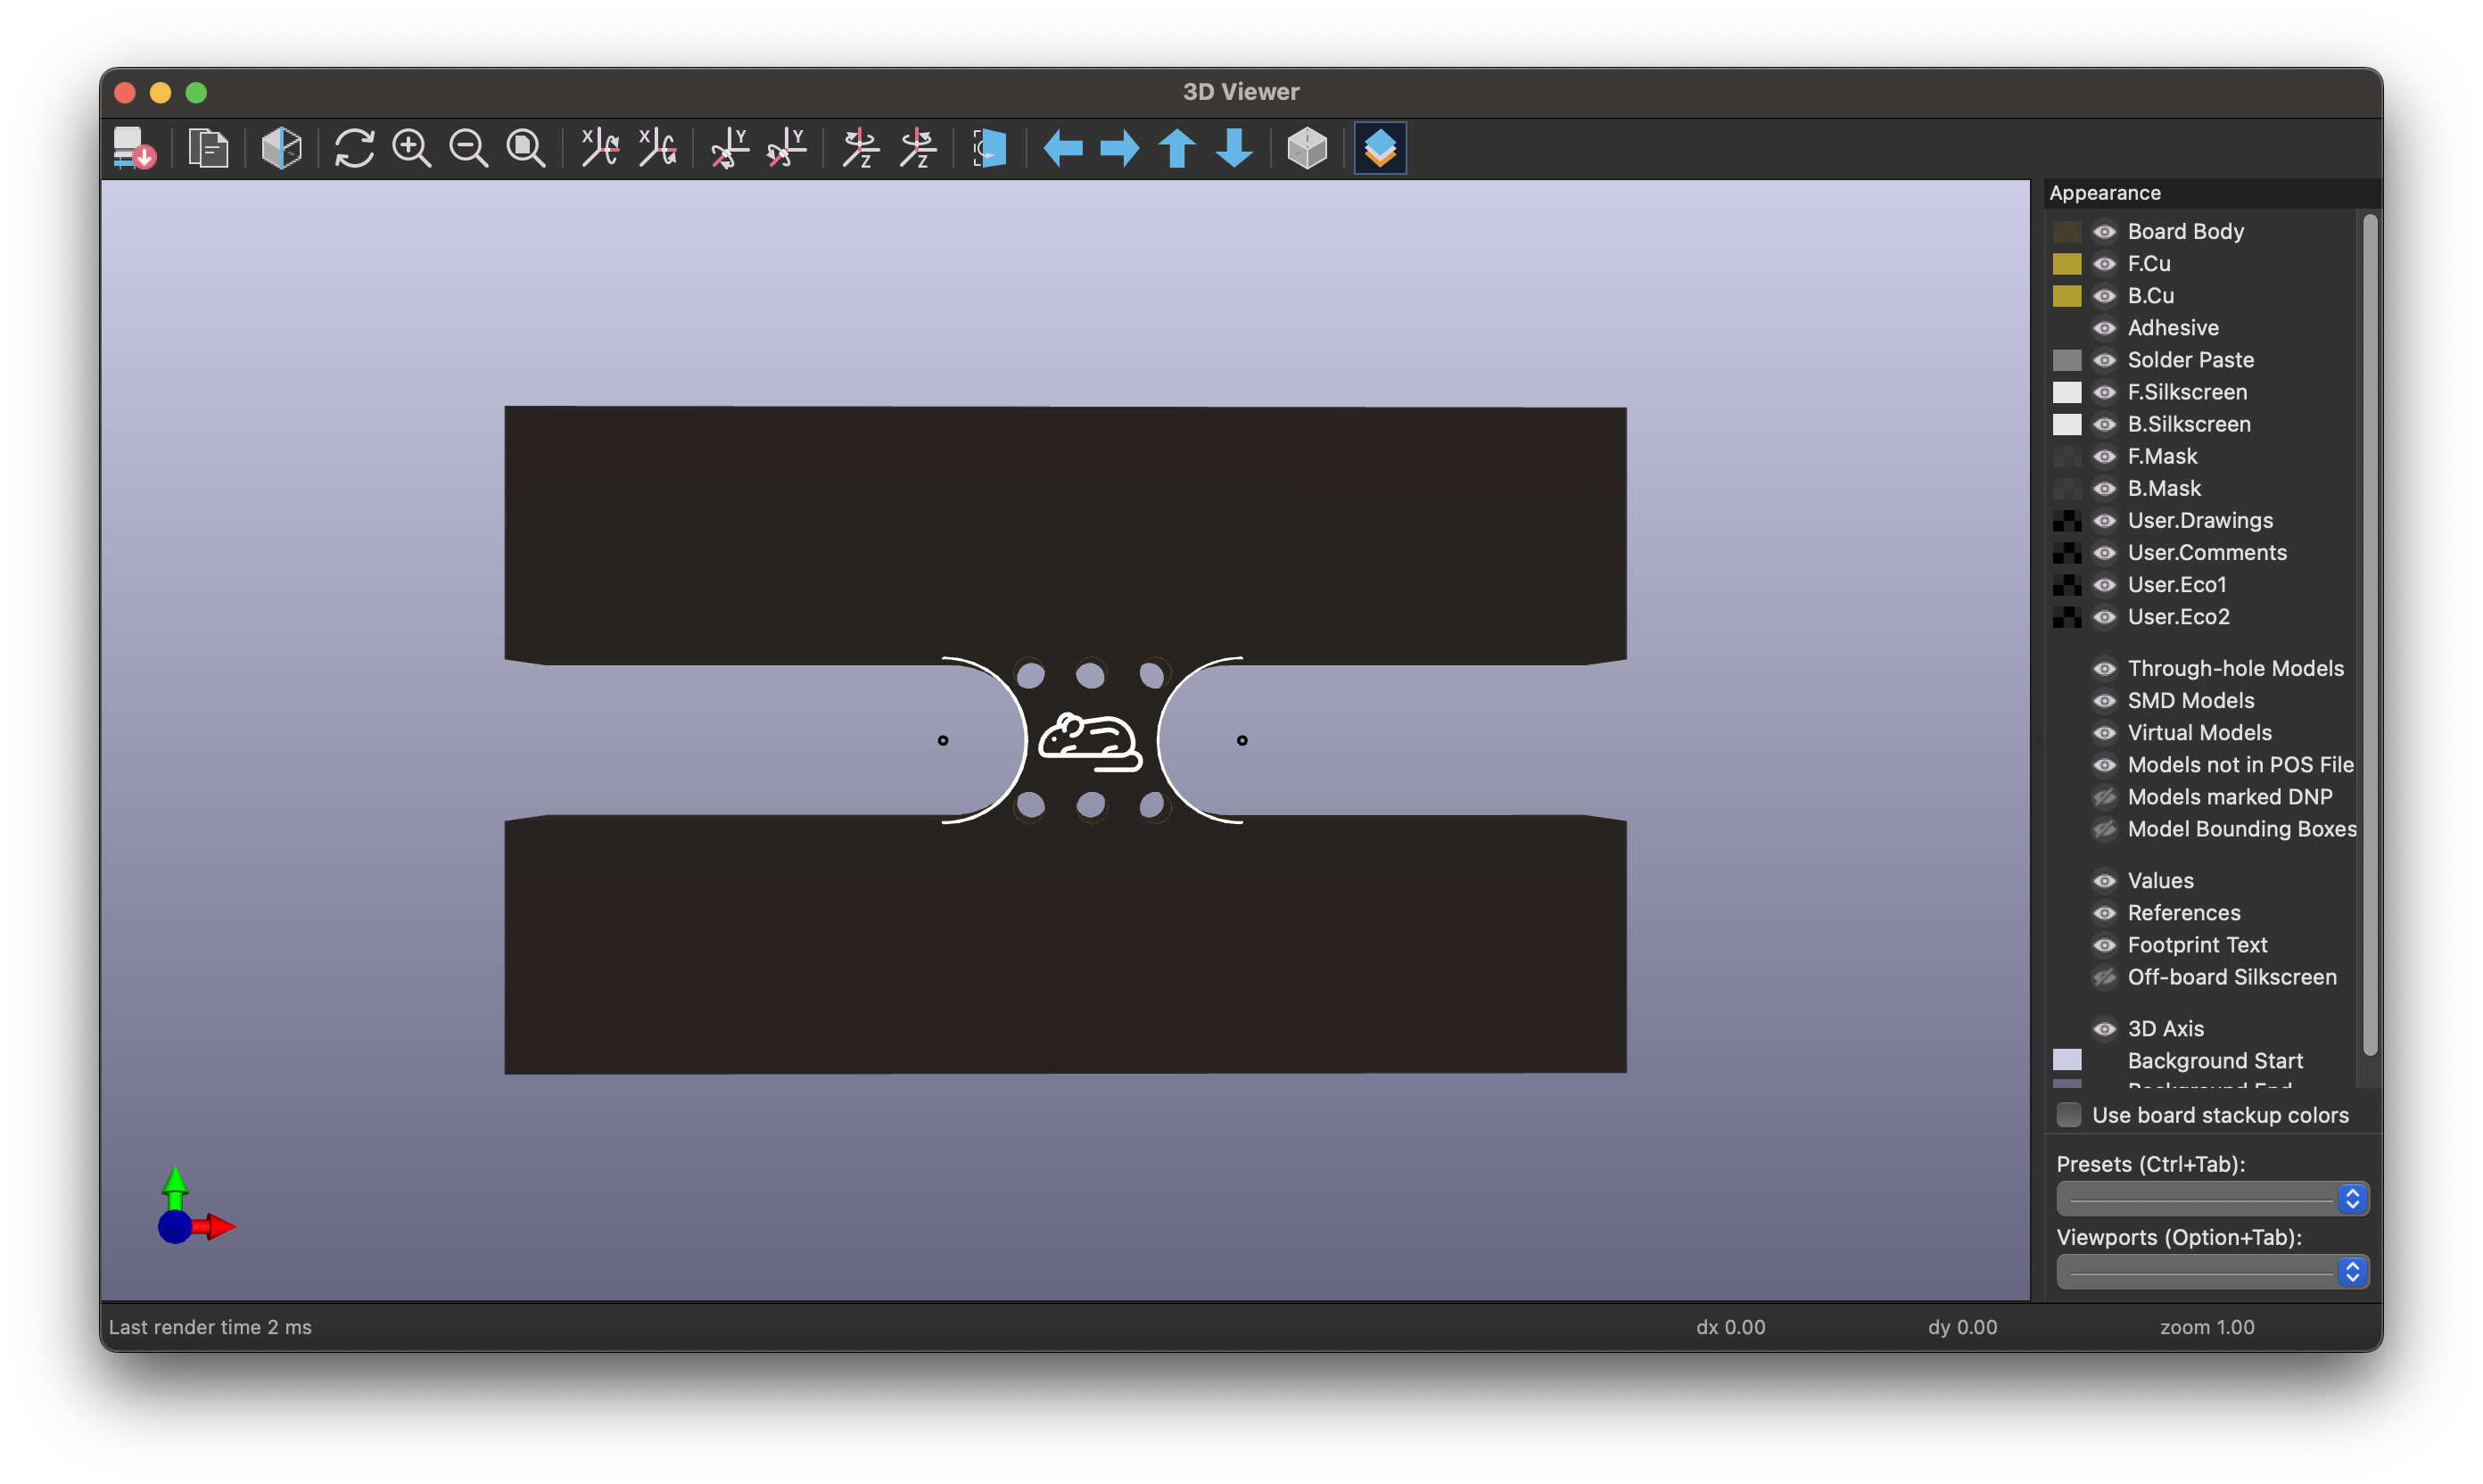
- Browse the available mouse-bite footprints. You’ll find a variety of hole patterns and densities to choose from, including single rows, double rows, and patterns optimized for different board break characteristics.
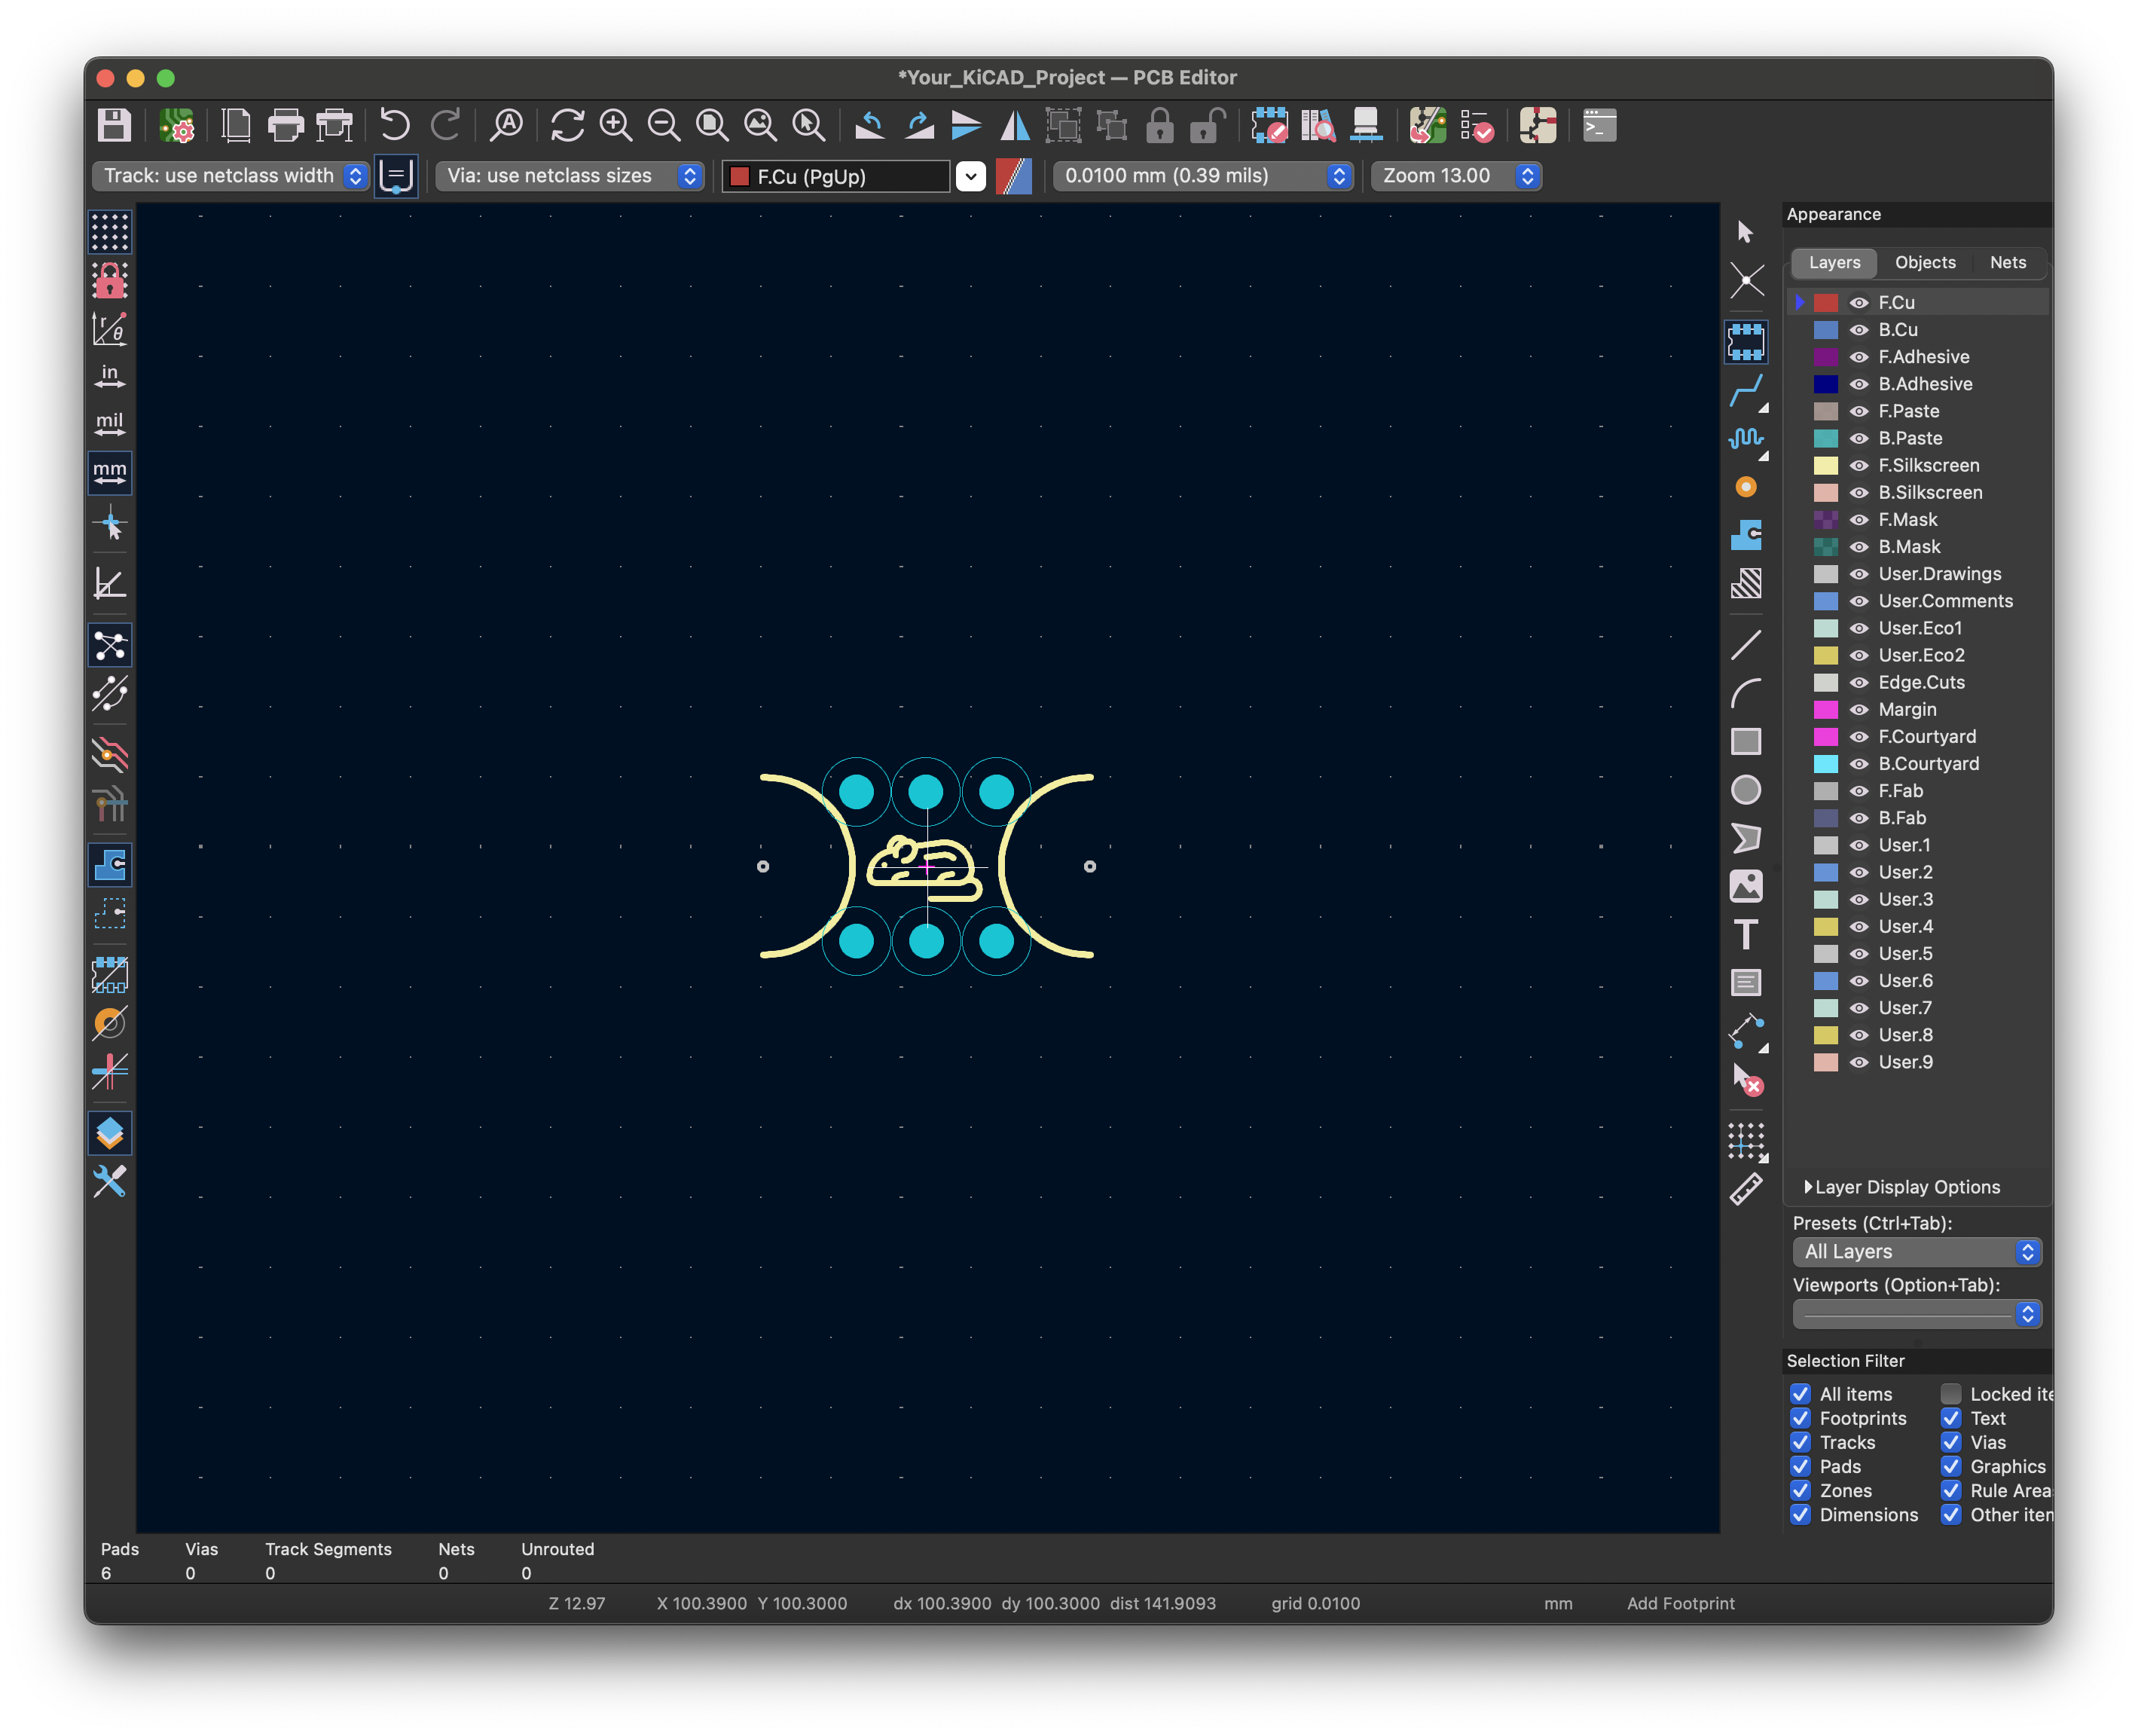
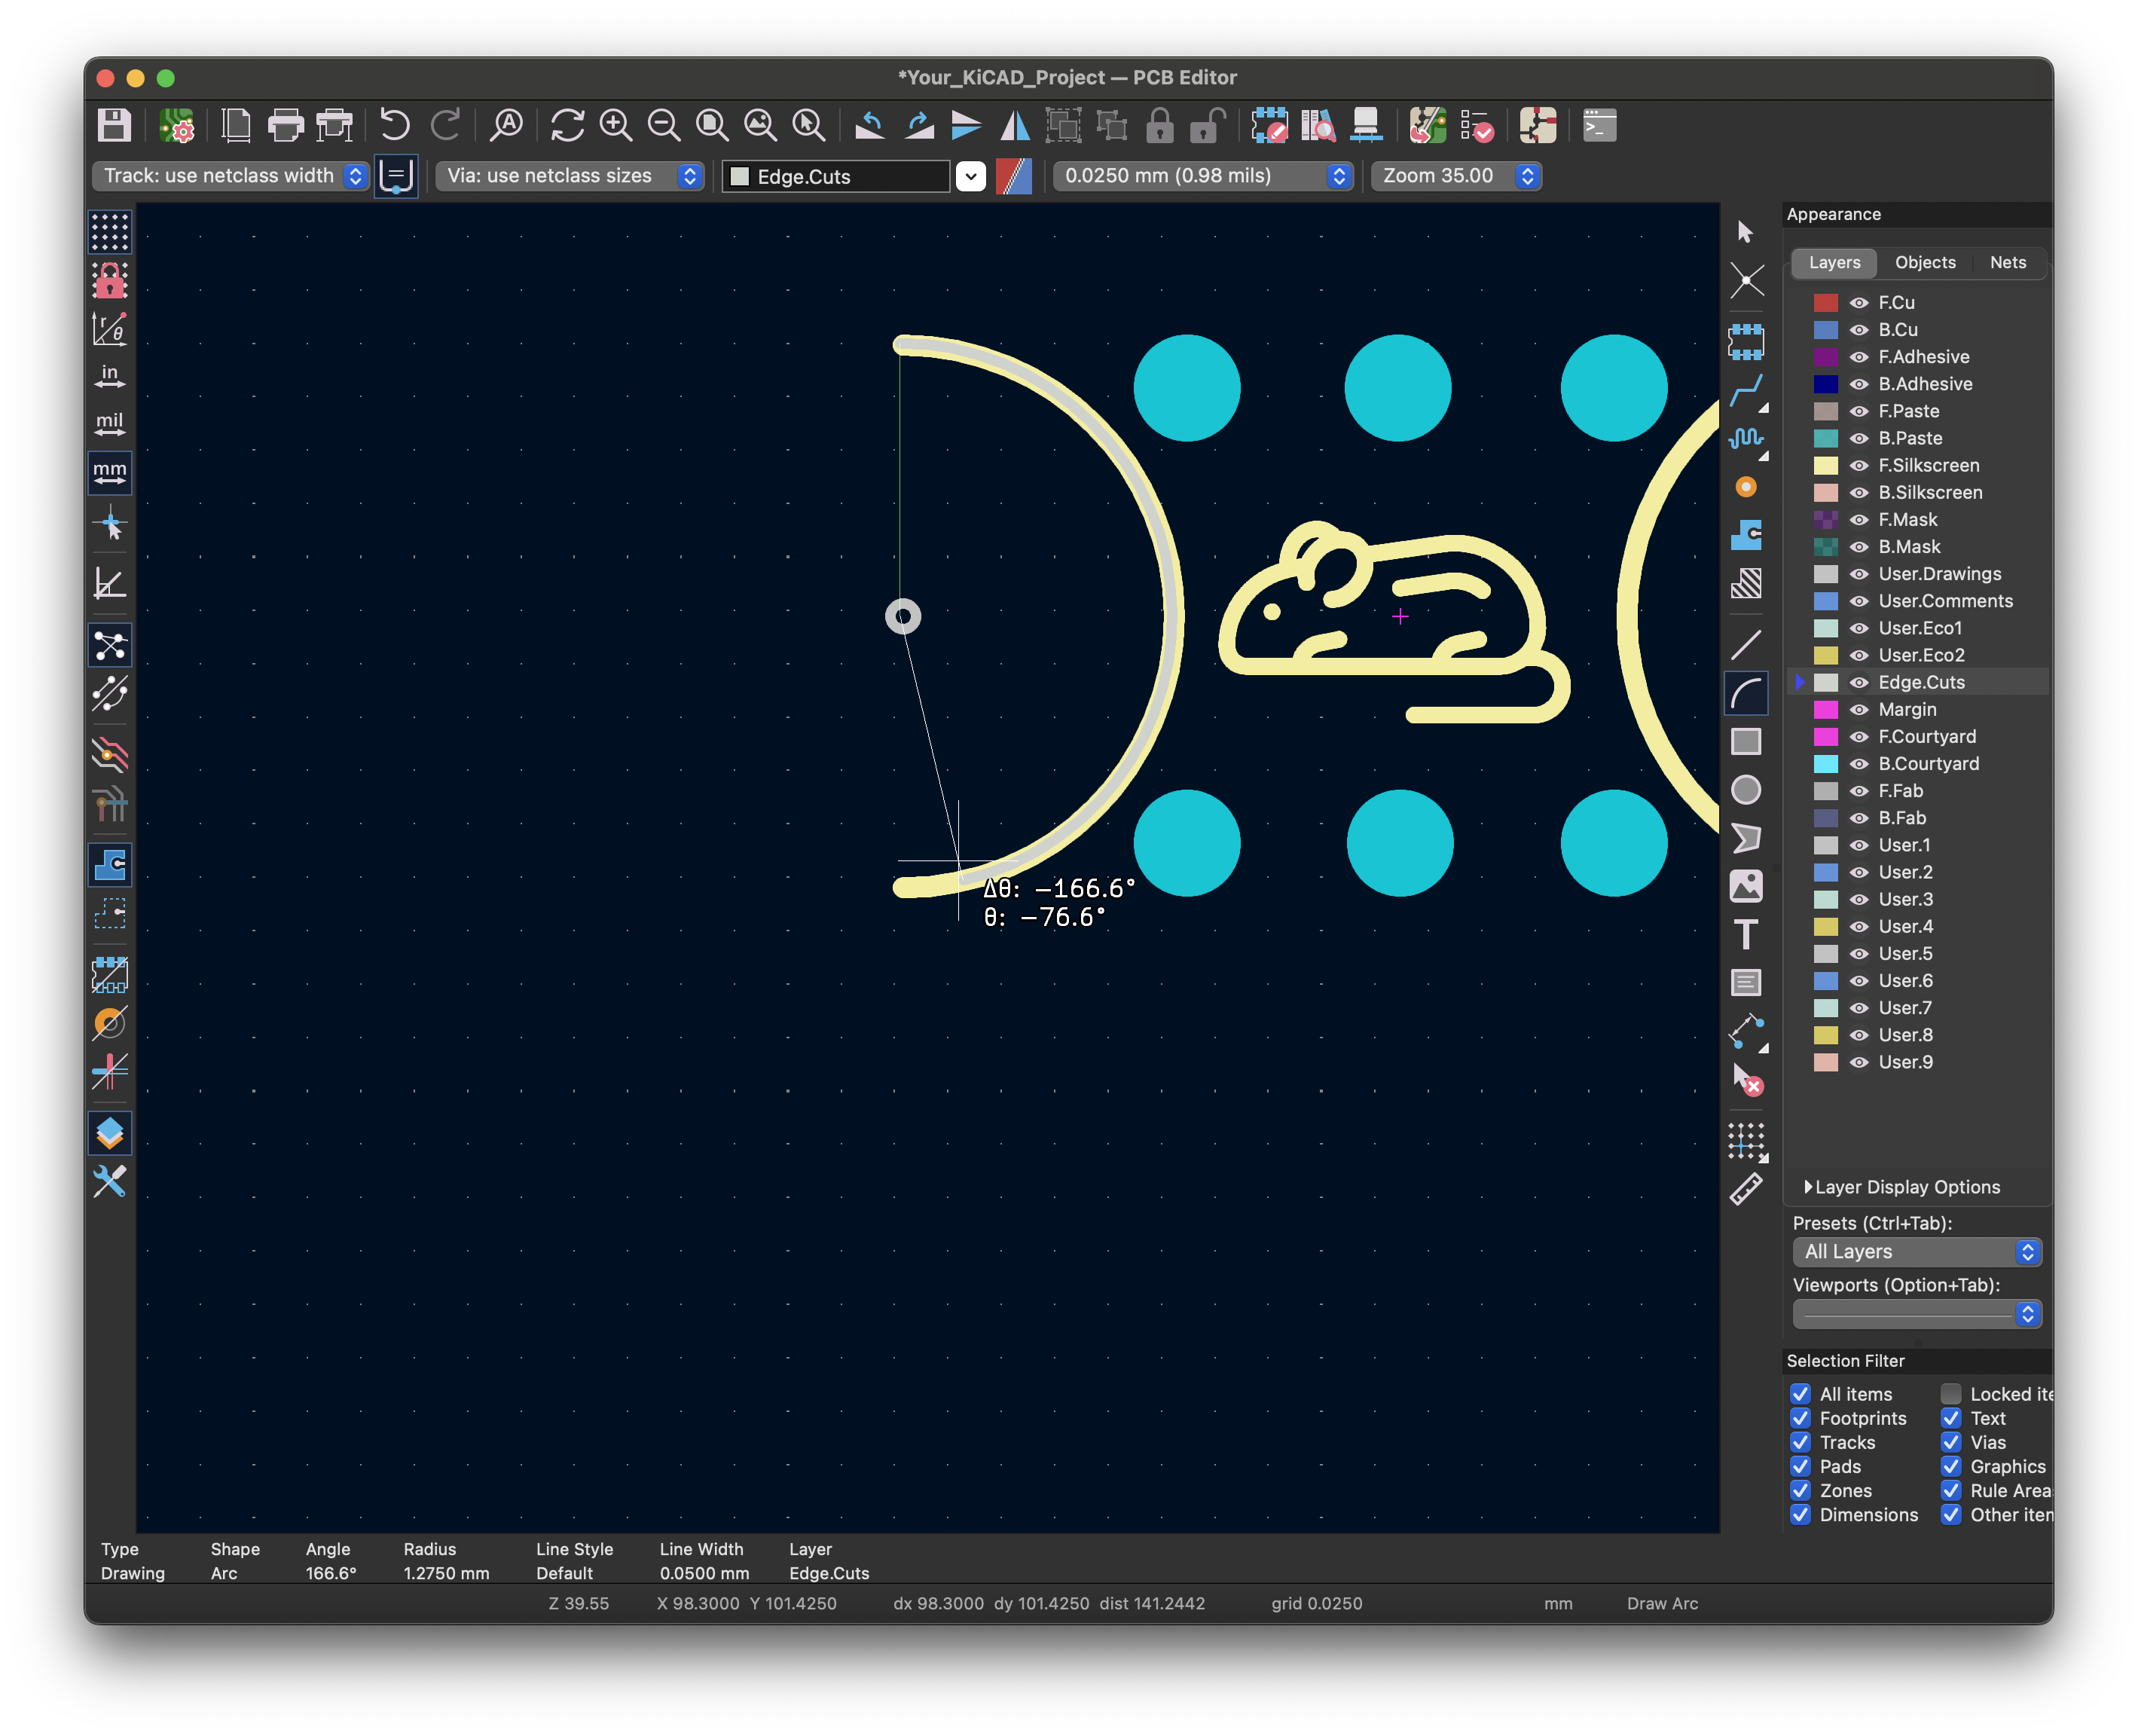
- Draw Arc as a Edge.Cuts on the Arcs of the footprint and connect them to your PCB
Tips for Effective Mouse Bite Usage
- Panelized Boards: For those creating panelized layouts, add mouse bites to the perimeter of each board in the array, facilitating easy snap-apart functionality.
- Experiment: The strength of the break will vary based on hole size, spacing, and material thickness, so experiment to find the configuration that best fits your project.
- Keep It Clean: Use a sanding tool or a small file to smooth out the break points post-separation if needed.
This library makes mouse bites accessible for KiCad users, eliminating the need for manual hole placement. Whether you’re prototyping or building modular boards, “mouse-bite.pretty” is a time-saving asset for any KiCad toolkit. Give it a try, and watch your PCB workflow get just a bit smoother!
