This Project is featured on instructables!
The jack-o’-lantern has a long history with Halloween, although our favourite demonic faces haven’t always been carved out of pumpkins. Their origin comes from an Irish myth about Stingy Jack, who tricked the Devil for his own monetary gain. When Jack died, God didn’t allow him into heaven, and the Devil didn’t let him into hell, so Jack was sentenced to roam the earth for eternity. In Ireland, people started to carve demonic faces out of turnips to frighten away Jack’s wandering soul. When Irish immigrants moved to the U.S., they began carving jack-o’-lanterns from pumpkins, as these were native to the region.

But how did jack-o’-lanterns become associated with Halloween? Halloween is based on the Celtic festival Samhain, a celebration in ancient Britain and Ireland that marked the end of summer and the beginning of the new year on November 1. It was believed that during Samhain, the souls of those who had died that year travelled to the otherworld and that other souls would return to visit their homes.
In the 8th century CE, the Roman Catholic Church moved All Saints’ Day, a day celebrating the church’s saints, to November 1. This meant that All Hallows’ Eve (or Halloween) fell on October 31. Traditions from Samhain remained, such as wearing disguises to hide yourself from the souls wandering around your home. The folklore about Stingy Jack was quickly incorporated into Halloween, and we’ve been carving pumpkins—or turnips—ever since.
Candles
According to tradition, a burning candle is placed in the pumpkin, but I have had some lesser experiences with this in the past. Which is why we are going to make an electronic candle that we can use again every year.

Hardware
I saw a couple circuit diagrams available for the Arduino, but nothing for the much smaller and cheaper ATTiny85, which is all this project really needs. I used the PWM output via analogWrite() on 2 pins (0 and 1) for a very realistic random flickering flame effect, and then just used digitalWrite() for the 3rd pin (2) to turn it on and off to make it appear to be blinking.
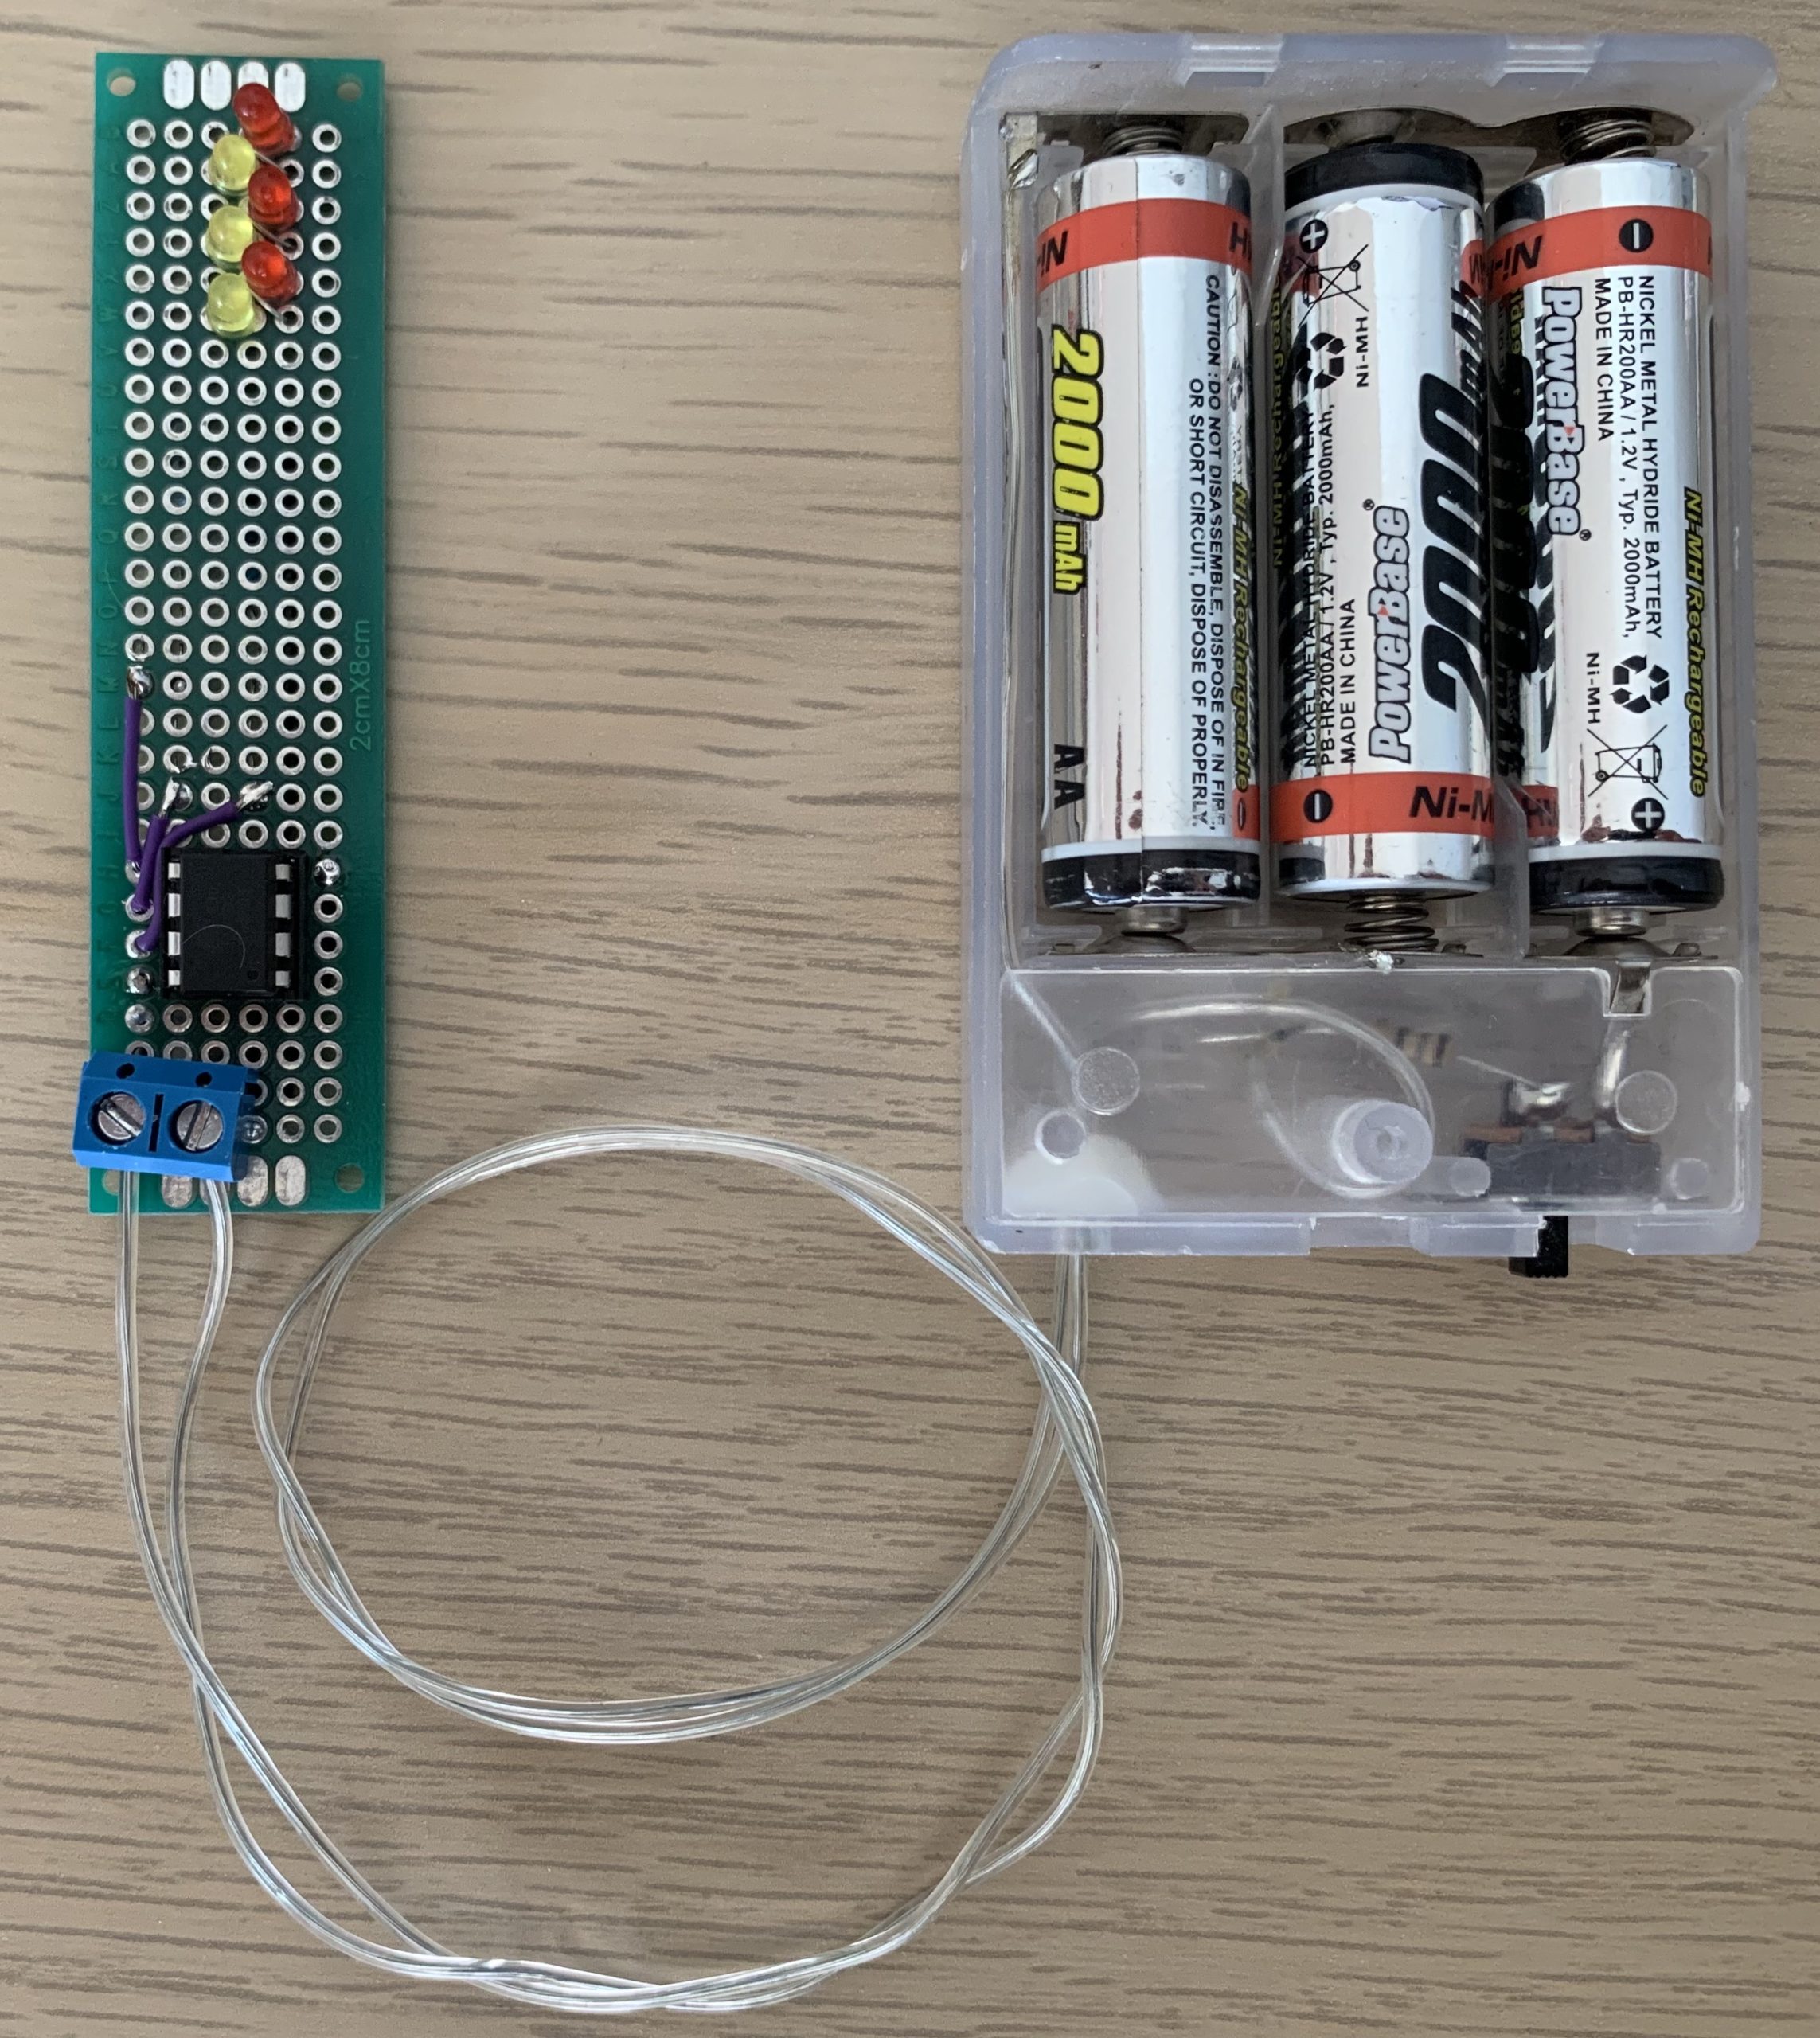
I also wanted it to make it a lot brighter than most projects I’d found online, so I used 3 pairs of LEDs in parallel for a total of 6 LEDs. 2 of which are basically on more than off (not really flickering – using the 3rd pin which can’t use PWM) for even more added brightness. I used 3 AA batteries for 4.5 volts, and you could get away with less than 100 Ohm resistors, probably half that. You could also power it with 3.3 volts and use smaller resistors still.
I scavenged some hardware for this project but is you don’t have any lying around the this is the list:
1 X Microchip ATtiny85

3 X Resistor 100 ohm

3 x 5 mm LED: Red

3 x 5 mm LED: Yellow

3 x AA Batteries

1 x AA Batteries holder

1 x Universal PCB Prototype 2 x 8 cm

Circuit
A simple circuit to blink 6 LEDs (3 pairs in parallel) to simulate a flickering candle effect for use in a Halloween Jack O’ Lantern pumpkin.

Scheme


Code
How to program an ATTiny you can ready here: https://www.studiopieters.nl/attiny-micro-controller-programming
Testing the Code
FREE Stencil download

Reference:
barrywise, attiny85 led flickering candle for jack o lantern, https://www.hackster.io/barrywise/attiny85-led-flickering-candle-for-jack-o-lantern-f97423